Amarino Shield Experiment 3- LM35 temperature sensor and LED controller
This is one of the most interesting experiments that uses Amarino shield and Amarino toolkit application. If you have never heard of Amarino toolkit and the shield, we recommend you to go the following pages:
This experiment with Amarino shield is similar to our previous tutorials on Sensor Graph- basic experiment and Sensor graph & LED controller together.
You can get a list of other experiments with this shield at the end of this post.
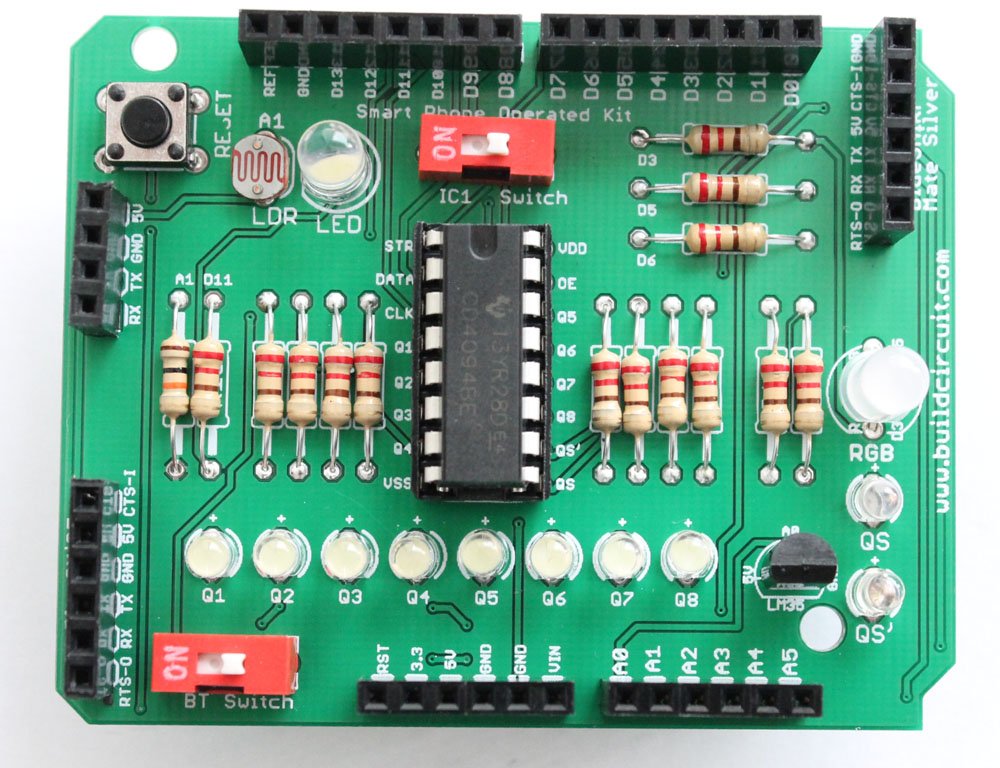
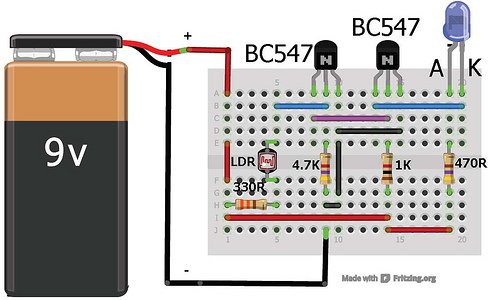
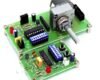
CONNECTION: In this experiment, the sensor signal from LM35 temperature sensor is fed to analog pin A0.
Check out the schematic of Amarino Shield 3.0
Steps:
a. Download Amarino and install on your Android Phone.
b. Download Amarino Library for Arduino and move it to the Libraries folder. You can check here if the Amarino team has upgraded the library. It’s always good to use the updated version 🙂 .
c. Download Temperature sensor (with LED controller) application and install on your phone. If you know Android Programming you can download the Android source code also.
d. Download Arduino code for this experiment and upload to your Arduino. Here, you have to keep few things in mind:
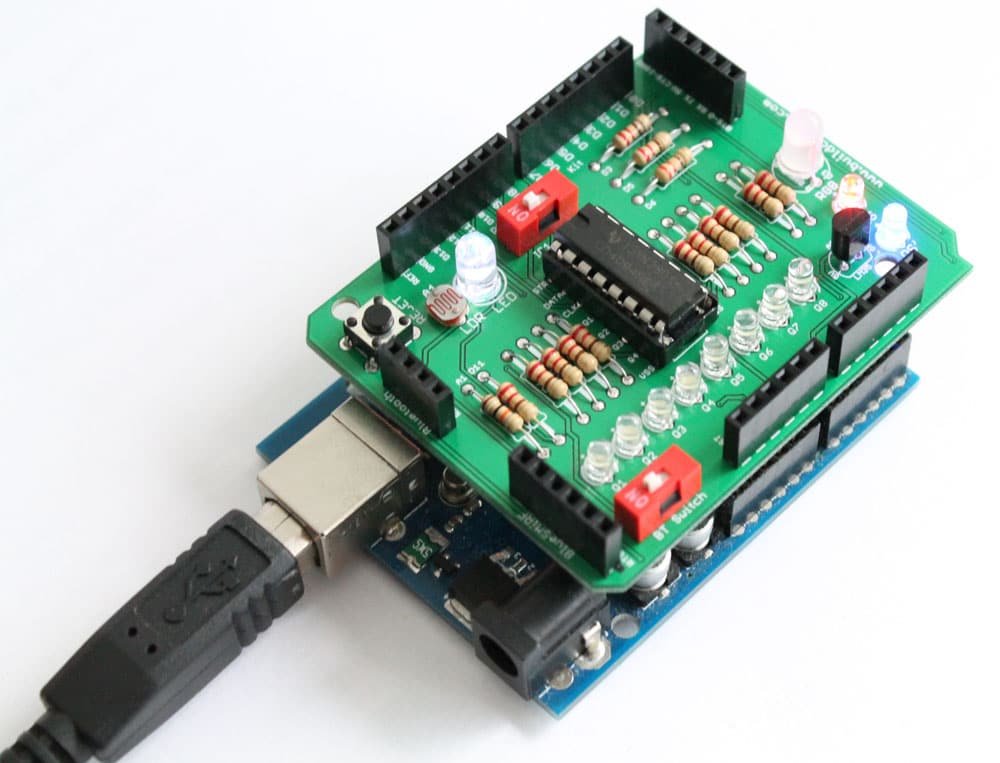
POINT 1: In Amarino 3.0 DIY shield, you have to use the IC1 switch (1 P DIP switch) to switch off CD4094 while doing Amarino related experiments. If it is switched on, the CD4094 chip might affect your experiment.
POINT 2: The Arduino Sketch has its default baud rate set to 9600 bits/s. Therefore, your Bluetooth adapter should also have the same baud rate. Generally, the default baud rate of BlueSMiRF and general Bluetooth adapters is 9600 bps. However, if you want to change baud rate of BlueSMiRF module, follow this link. We have tested this experiment at 57600 bps and 9600 bps and it works perfectly well. You cannot change the baud rate of general Bluetooth adapters 🙁 .
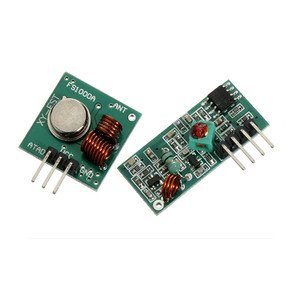
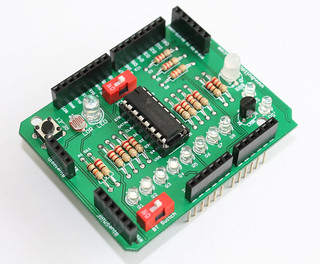
e. Stack the Amarino shield over your Arduino and your Bluetooth adapter over the correct female header on the shield. The shield supports 3 types of Bluetooth adapters. Please check here to know which adapters are supported.
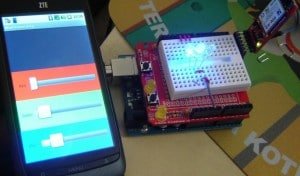
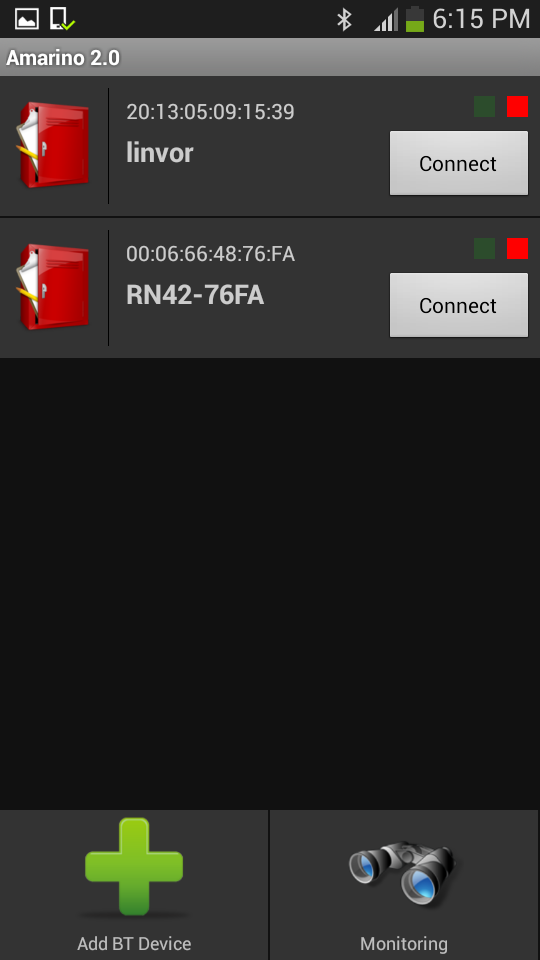
Test if Amarino application connects to the Bluetooth adapter: After installing the adapter on the shield, switch on the Bluetooth function of your phone, open the Amarino application and connect each other using the pairing code 1234. You can see the MAC ID of the Bluetooth adapter on the Amarino application interface. On the image shown below, you can see that there are two Bluetooth adapters with two different names and IDs registered on the application. Pressing the “Connect” button connects the application to the chosen adapter. You can connect only one adapter at one time.
A low cost general Bluetooth adapter is enough for this shield. You can purchase one at buildcircuit.net.
If you have never done any experiment related to Bluetooth adapter, we recommend you to try this one… CLICK HERE.
f. Keep the Bluetooth function of your phone alive, pair it up with the Bluetooth adapter using the pairing code: 1234 and note down the MAC ID of your Bluetooth adapter and type it on the text box of your Temperature sensor (with LED controller) application.
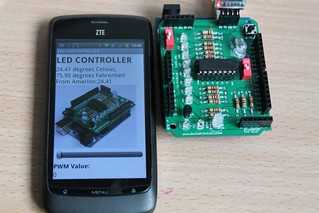
g. Connect to the Bluetooth adapter with your application and use the Temperature sensor (with LED controller) application to operate the 5mm white LED with PWM signals and see the temperature data on the application interface.
Check out the following video:
Related tutorials:
- About Amarino toolkit
- About Amarino shield
- Flickr Images
- Experiment 1– Basic control over CD4094 without Android phone and serial emulator application
- Experiment 2- CD4094 control using Android phone and Amarino shield
- Experiment 3- Amarino experiment- RGB Lamp
- Experiment 4- Amarino experiment- Sensor Graph with LED Controller
- Experiment 5- Amarino experiment- LM35 based temperature sensor with LED controller
- Amarino Shield 3.0 Schematic
- Assembly tutorial
- Buy the shield
You can purchase this versatile Amarino shield at buildcircuit.net and Etsy. The store is owned and operated by the team which operates buildcircuit.com.

![]()