


Connecting electrical appliance to DIY remote operated switch
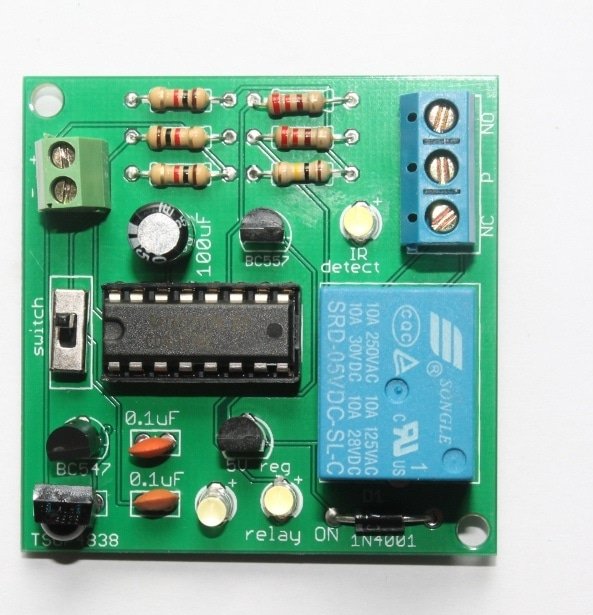
This tutorial is related to my DIY remote operated switch kit. If you have come to this page from a search engine, please visit this page first.
Before trying this experiment, I strongly recommend you to learn about relays. It can be dangerous and lead to serious accident if you don’t know how to connect a device operating at 220V on to this remote operated switch.
Visit this page to learn about relays.
The following picture depicts how an appliance operating at 220V is connected to relay.

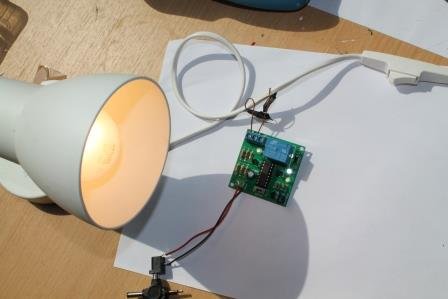
In this tutorial, I am going to show you how a 60W bulb operating at 220V can be connected to the remote operated DIY kit.
Step 1: Break one of the wires that connects to the bulb and the 220V line.


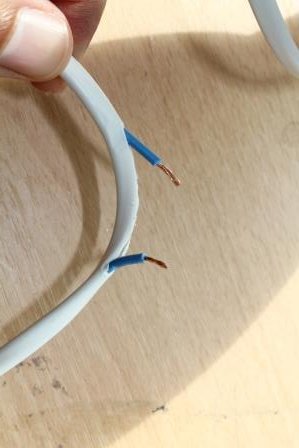
Step 2: Connect extra wires to the broken points.

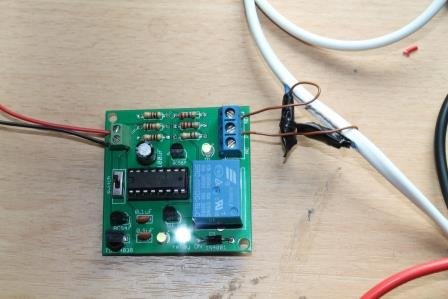
Step 3: Wound the connected joints with black tape(insulate the connection) so that you don’t touch on that point and get a shock. You should do this!

Step 4: Now connect the two wires to pin P and pin NO of 3-pin screw terminal. You know that the screw terminal is connected to the relay.
Step 5: Connect a 9V power supply to the kit and use a general remote control to operate your appliance.
WATCH THE VIDEOS:
- Video 1– Operating with IR transmitter. You can make your own infrared transmitter using NE555. Get project details from buildcircuit.com. Check out this tutorial also.
- Video 2– Operating the kit with a TV remote control.
- Video 3– Operating the kit with remote control.
- Video 4
Other links:
![]()
🛠️ Dive into our collection of DIY Kits, 🔊 Audio Amplifiers, Digital Scoreboards, FM transmitters, and more!
🎶 Explore endless possibilities at our new store.


