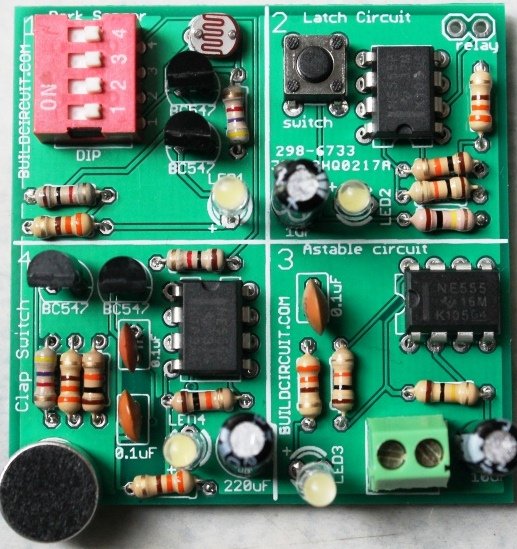
5 beginners projects that work in the first attempt

Just started electronics ? And you don’t know any engineering behind your projects and you are afraid of failure ? Then, this article can help you get started in electronics.

Usually, success in initial projects plays important role in electronics amateurs and engineering students’ career. Many students quit electronics because they fail in their first, second projects. After few failures, student keep a misconception that electronic projects working now might not work later. Thus, I recommend beginners to start with those projects which will work in their first attempt and give inspiration from your own work.

(more…)

The simplest and the cheapest FM transmitter- Do-it-yourself(DIY) kit for amateurs

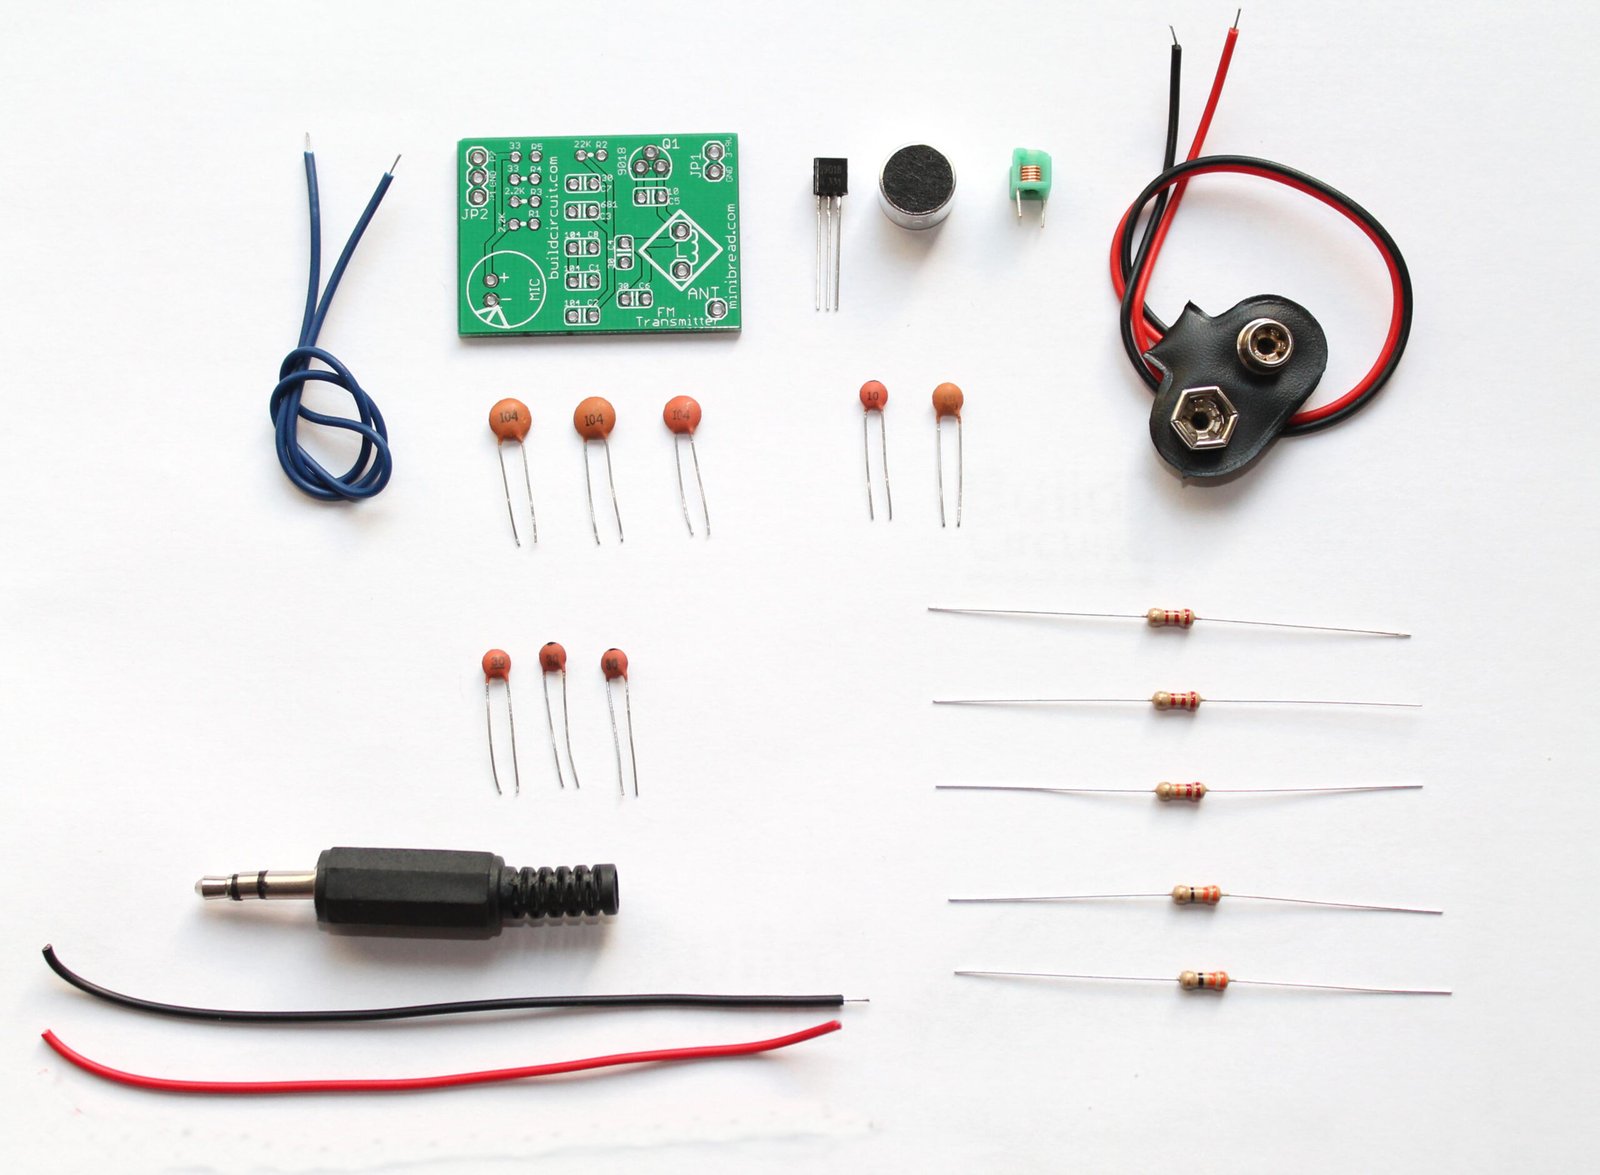
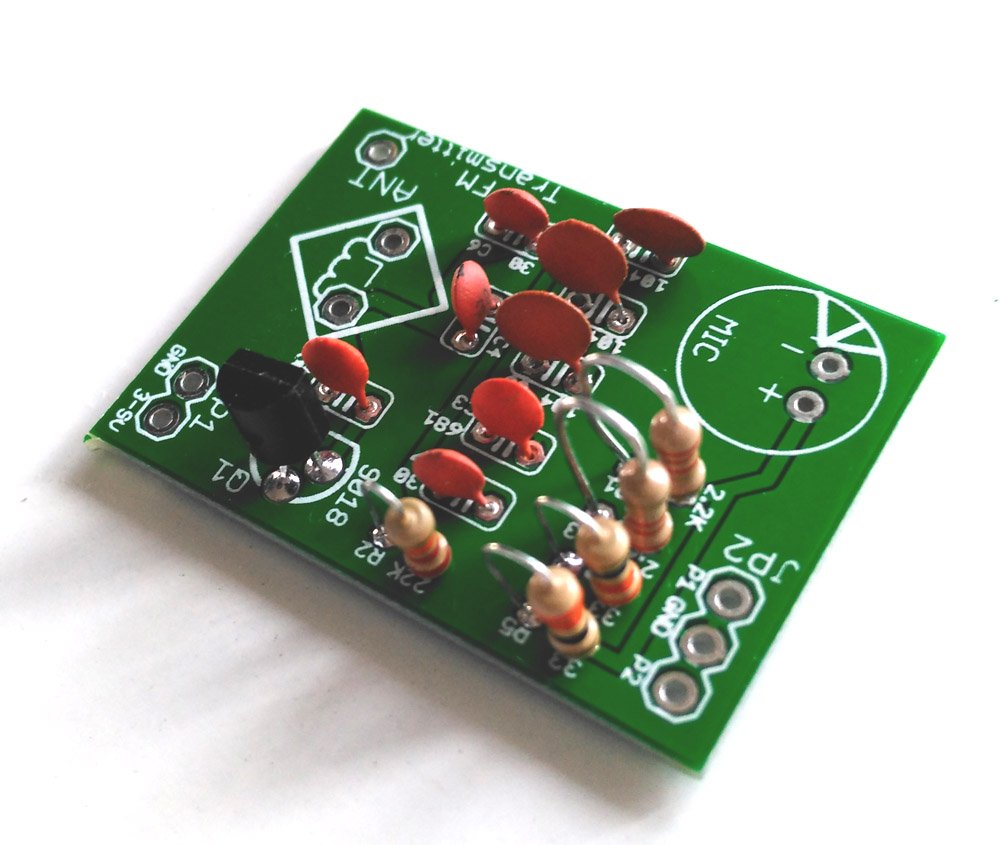
Here’s one of the easiest, simplest and the most popular FM transmitter for amateurs and electronics beginners. With this DIY kit, you can transmit your voice or audio over an ordinary FM radio within the FM broadcast band. It is a DIY kit designed by Sagar Sapkota. You can buy this kit from BuildCircuit Store. The best thing about this transmitter is that you don’t have to make your own inductor for this kit. Making an inductor is bit hard for amateurs. Besides, this kit is not only capable of transmitting voice using microphone but also transmitting music from your music player. (more…)

Super Easy Electronics Projects for Absolute Beginners

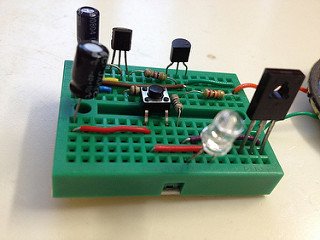
There are hundreds of electronics projects published on buildcircuit.com. This time we have selected few projects that should be easier for beginners to start with. Complex and difficult projects just frustrate the beginners. The best thing about the listed projects is that all come with good assembly images and most of the projects can be made with 5-10 components.  The components used for one project can be used for other projects also.
(more…)

Assembly tutorial- FM transmitter DIY kit

If you have to come to this page directly from a search site, please go to this article first. This is the second article that gives  assembly instructions for FM transmitter kit. Please click here for the first article.

In this article, we will see how to assemble the FM transmitter DIY kit.

First of all, look at the schematic and PCB image given below.

FM TRANSMITTER DIY KIT (3) (more…)

Simplest DIY clap switch- Assembly tutorial

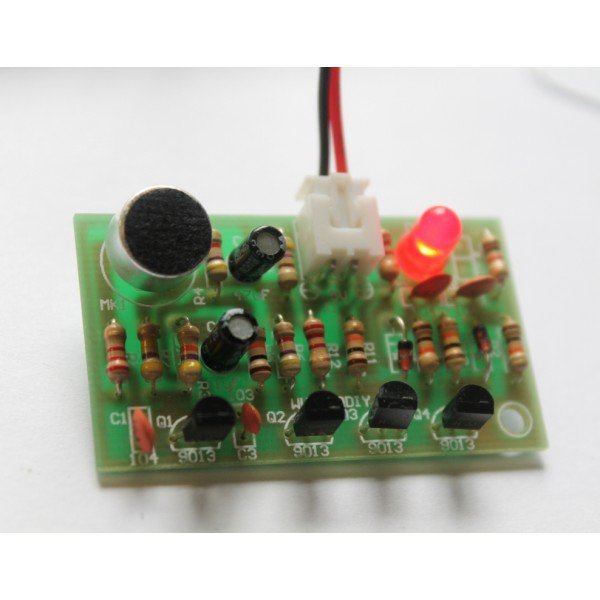
If you have come to this page from a search engine, please check this article to know about clap switch. Follow the given steps to assemble the DIY clap switch.

Step 1:Collect all the required components for assembling the kit.

STEP 1

 Step 2: Read and confirm the specifications of the components.

STEP 2

Step 3: Insert all the resistors in its respective place according to its specifications.

sTEP 3

Step 4: Insert the ceramic capacitors into the board according to its labelled  specification.

STEP 4

Step 5: Insert the diode in its respective place.

STEP 5

Step 6: Insert the four transistors in the board.

STEP 6

Step 7: Place electrolytic capacitors according to its specification.

STEP 7

Step 8: Insert mic and LED into its place in the circuit board.

STEP 8

Step 9: Connect 2 pin JST connector in the circuit.

STEP 9

Step 10: Clap switch in action.

STEP 12

Video:

BC-216

100-240V AC Light Bulb Controllable FULLY Assembled Clap Switch

12.83
This FULLY ASSEMBLED sound/clap operated switch can be

Troubleshooting electronic projects

We all know that troubleshooting is a process of identifying and solving problems that cause a circuit to malfunction. This article is about troubleshooting basic and amateur electronic projects, not about sophisticated devices . With the exception of minor problems,troubleshooting sophisticated systems at the circuit level, like computer, VCR, mobile phones, etc. requires special skills, knowledge and experience.

(more…)

Astable mode of 555 timer

Description: Astable mode of 555 timer is used to generate pulses at regular interval. READ ABOUT ASTABLE MODE. 

The following schematic has been taken from buildcircuit.com. The following circuit can work as a music generator, Infrared transmitter and LED blinker depending upon the values of R1, R2 and C1. (more…)

Light activated police siren using 555 timer and light dependent resistor(LDR)

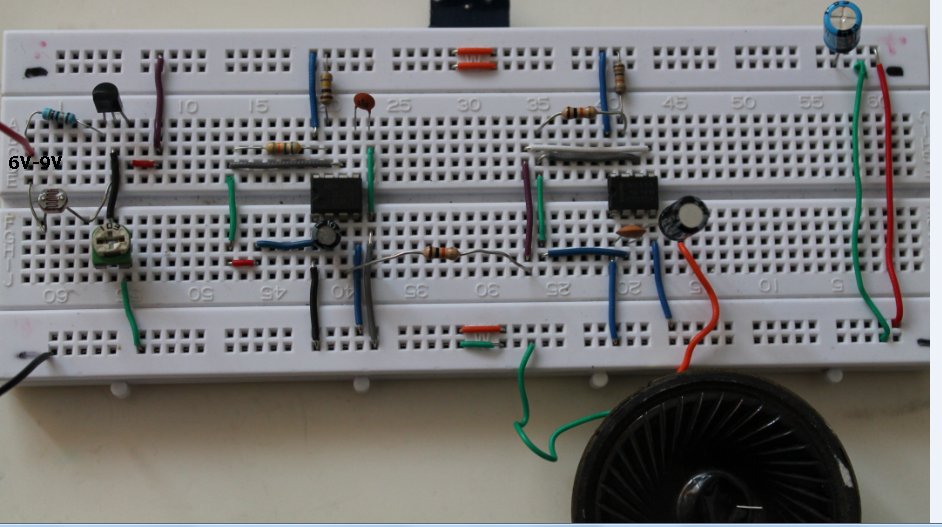
Here’s a simple light activated police siren using light dependent resistor and NE555 timer. Before you make this project, I would recommend you to make the following projects.

a. Light sensor and dark sensor

I strongly recommend you to make a dark sensor and light sensor using LDR and understand clearly how it works.

b. NE555 astable mode– Understand the working of astable mode of NE555 timer.

The police siren project is based on these two projects, so you need to understand these two projects first. (more…)

How to use an electret microphone

An electret is a permanently charged dielectric. It is made by heating a ceramic material, placing it in a magnetic field then allowing it to cool while still in the magnetic field. It is the electrostatic equivalent of a permanent magnet. In the electret microphone a slice of this material is used as a part of the dielectric of a capacitor in which the diaphram of a microphone forms one plate. Sound pressure moves one of its plates. The movement of the plate changes the capacitance. The electret capacitor is connected to an FET amplifier. These microphones are small, have excellent sensitivity, a wide frequency response and a very low cost.

BUY_ELECTRET_MICROPHONE (more…)

Basic RC circuit

For the circuit to work as light operated musical bell, we need to connect the SW1- switch to N/C terminal of relay. LDR has to be kept in a dark case.

Search for products

Back to Top
Product has been added to your cart