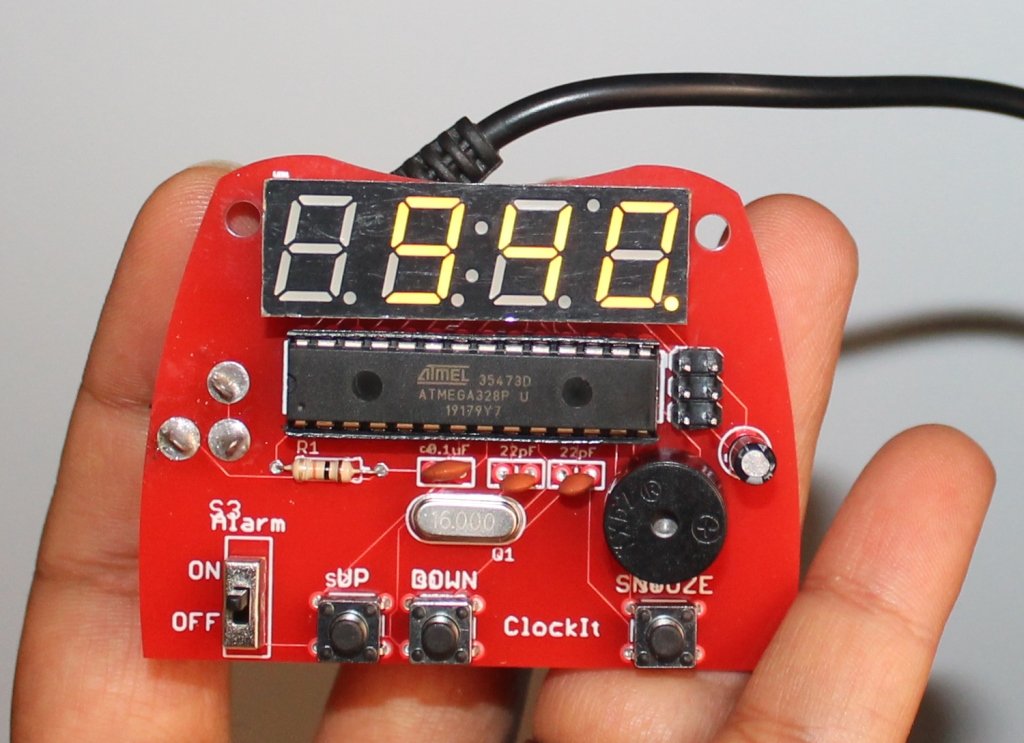
DIY KIT 64- ClockIt digital clock DIY kit using Arduino

[adrotate banner=”2″]

[adrotate banner="2"]
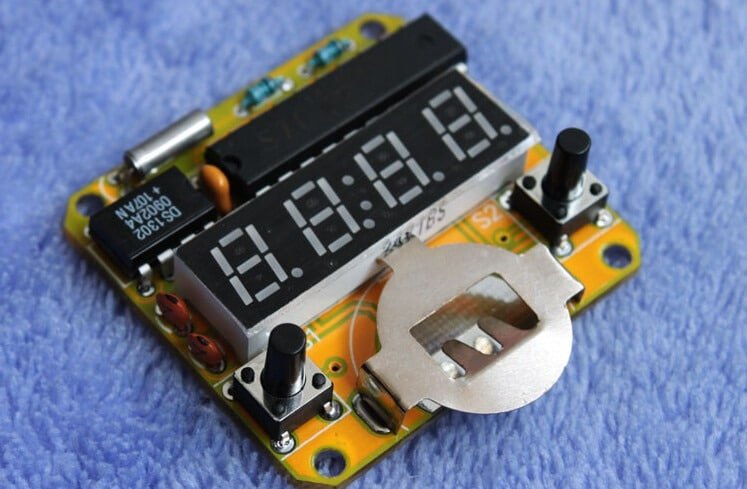
This is a great kit to learn the basics of soldering. The Sparkfun ClockIt is a basic alarm clock with buzzer based on the ever-popular ATMega328. If you’re just learning how to solder, this kit should take you 15-20 minutes. If you’re a weathered pro at soldering, this is a great relaxing build that should take 5-10 minutes. (more…)

DIY KIT 60- Digital clock kit-II

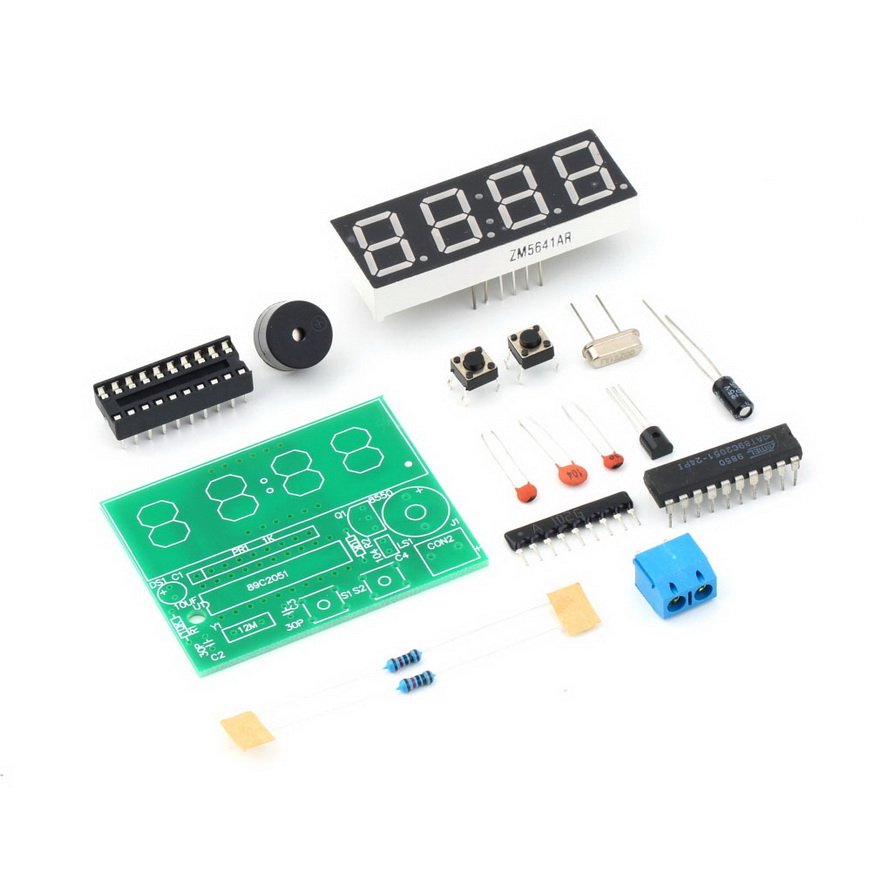
This digital clock kit looks very much similar to this kit, the kit is actually slightly advanced than the previous kit. It has enough functionalities like any other regular clock. It is very accurate. It is an easy to build kit and perfect to start to develop your soldering skills. It uses the chip AT89C2051. (more…)

DIY KIT 59- How to assemble DIY digital clock kit ?

If you have come to this page directly from a search engine, visit this page first to know about this DIY digital clock kit.

This assembly tutorial explains how to assemble the DIY digital clock kit.

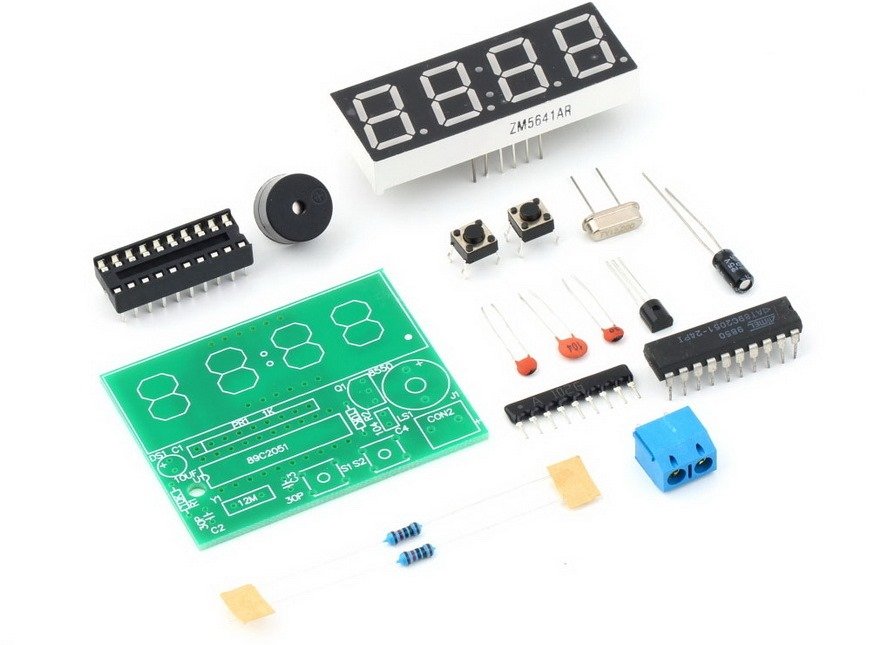
You will get the following components in the kit package:


You will need basic soldering skills to assemble the kit. If you follow the PCB silkscreen labels, you can easily solder the kit.

Step 1: Solder two Resistors and capacitors 30pF(code-30) and 0.1uF (code-104).

Step 2: Solder the other 30pF capacitor also.

Step 3: Solder the 12Mhz crystal oscillator.

Step 4: Solder 2pcs tactile switches

Step 5: Solder SS8550 transistor.

Step 6: Solder IC socket and SIP-9 1k resistor. The resistor is used to control current in the seven segment display

Step 7: Solder 10uF capacitor. Be careful with the capacitor polarity. Insert positive pin of the capacitor in the hole marked +

Step 8: Solder 5mm screw terminal. You will use this terminal to connect battery.

Step 9: Solder the buzzer. Note the polarity of the buzzer.

Step 10: Solder 4 digit seven segment display

Step 11: Insert the microcontroller chip in the IC socket

Step 12: Connect a 9V battery connector to the screw terminal. You can now use the digital clock.

Digital clock DIY kit is available at www.buildcircuit.com.au.

DIY KIT 30- Digital Clock Kit with 16×2 LCD

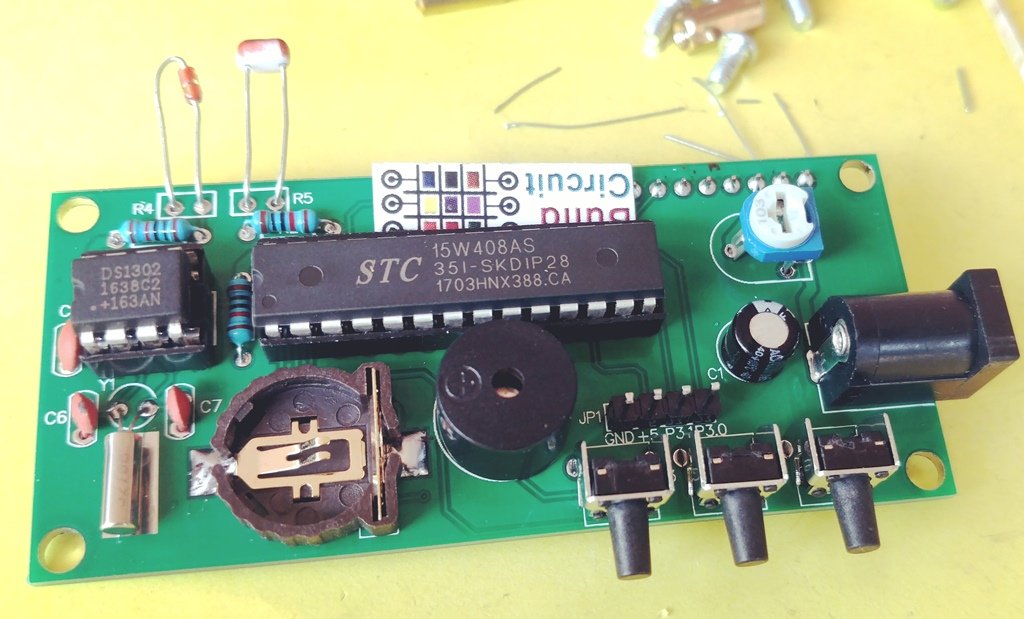
This is a basic electronic clock built with  STC15w408AS, clock chip DS1302, and 16×2 LCD. The best thing about this kit is its enclosure. With all the features of a commercial clock, the kit gives a professional look after assembly. The article shows you all the steps to build the electronic part of the kit assembly process. For the enclosure, we will publish another article in the future. (more…)

How to use C51 4 Bits Digital Electronic Clock DIY Kit

This is a very popular digital click for beginners. It is a DIY Kit. It is now available at BuildCircuit Store. It is based on AT89C2051-24PU.

Basic Functions:

1. Hour and minute display & minute and second display

2. Two alarms set up

There is a buzzer that works as an alarm. When the clock reaches hours…like 1:00, 12:00, etc., it will beep for 3 times. The alarm beep is optional, you can disable it.

(more…)

Search for products

Back to Top
Product has been added to your cart