


Cosmarino Assembly Tutorial

If you have come to this page from a search engine, please check this page first, you will eventually come to this page again.
About Cosmarino
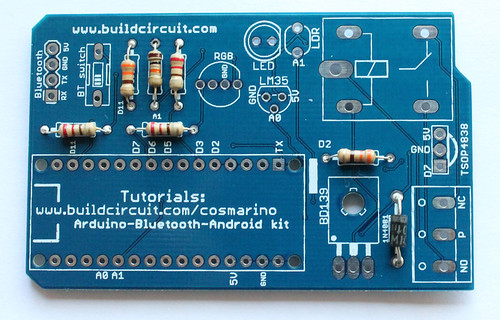
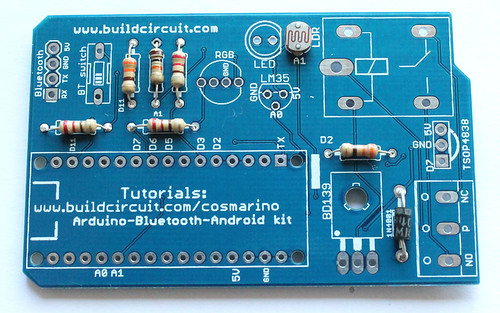
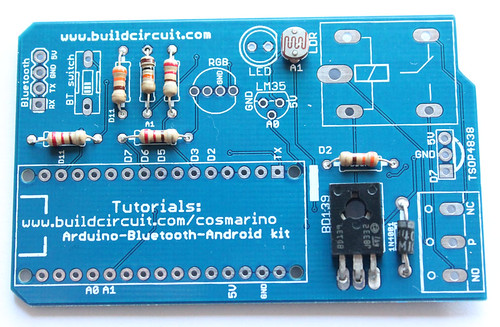
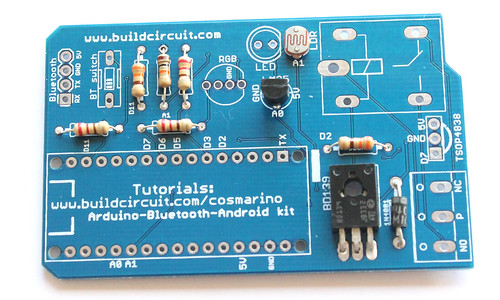
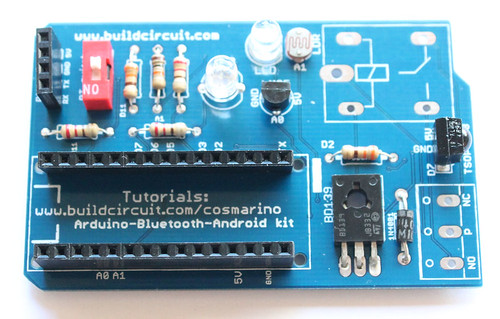
The assembly process of the Cosmarino kit is very straight forward. You just need to follow the silkscreen labels to get the idea of assembly. A basic knowledge in soldering is enough for assembling the kit.
To be quick, you can see all the assembly images on Flickr.
Step 1: Solder all the 220 ohm resistors

Step 2: Solder 330 Ohm and 10K ohm resistors

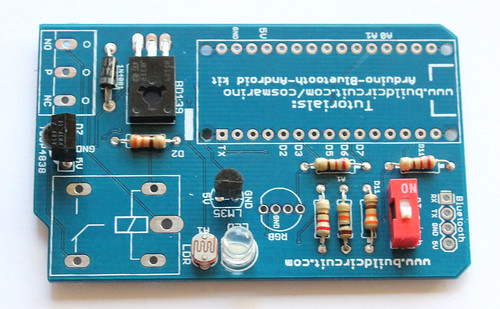
Step 3: Solder 1N4001 diode.
Step 4: Solder LDR/ photoresistor.
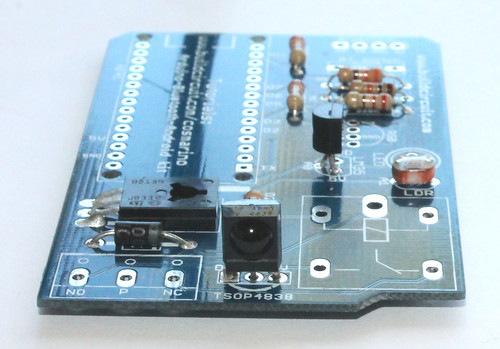
Step 5: Solder BD139 NPN transistor
Step 6: Solder LM35DZ temperature sensor

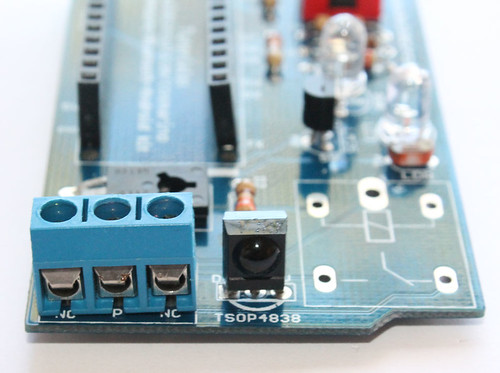
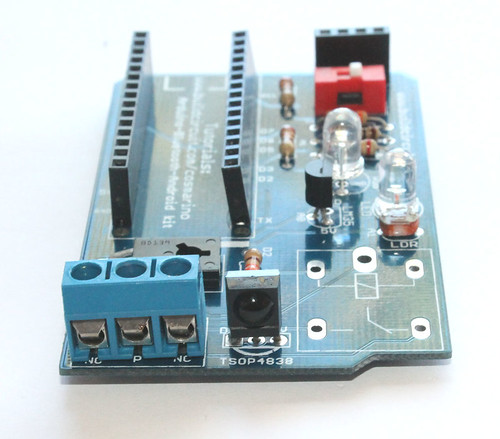
Step 7: Solder TSOP4838 infrared sensor
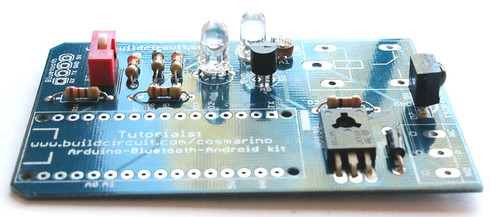
Step 8: Solder 1P DIP switch
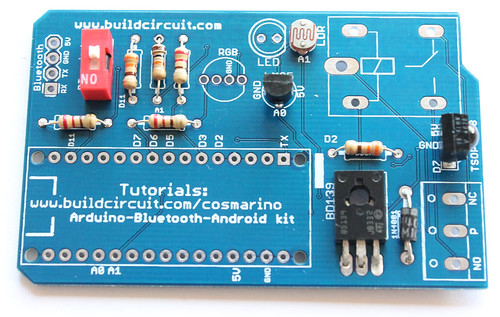
Step 9: Solder 5mm white LED
Step 10: Solder RGB LED

Step 11: Solder 2pcs 15 pin female header
Step 12: Solder 3 pin screw terminal
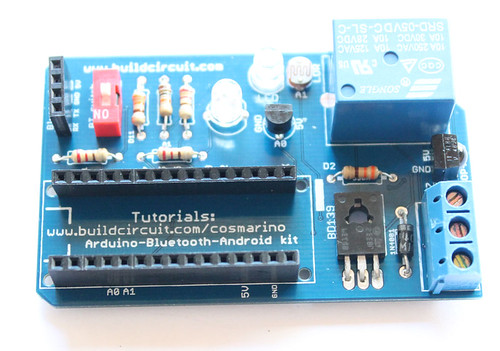
Step 13: Solder 5V relay
Step 14: Stack Bluetooth module and Arduino Nano

The kit is ready to use

Cosmarino Experiments
Related documents:
Where can you buy ?


🛠️ Dive into our collection of DIY Kits, 🔊 Audio Amplifiers, Digital Scoreboards, FM transmitters, and more!
🎶 Explore endless possibilities at our new store.

