


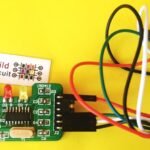
DIY KIT 18- CH340G USB to TTL Kit

This is basically a module similar to FTDI/FT232RLbasic breakout board. CH340 is a series of USB bus adapters, that provides serial, parallel or IrDA interfaces over the USB bus (note: CH340G supports serial interface only). The CH340G integrate circuit provides common MODEM signals to allow adding a UART to a computer or converting existing UART devices to USB interface.
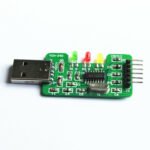
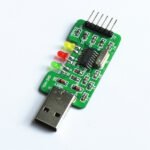
Most of the Chinese Arduino nano boards have the CH340G chip. After assembling the kit, I tested it with an ESP8266 module and it worked.
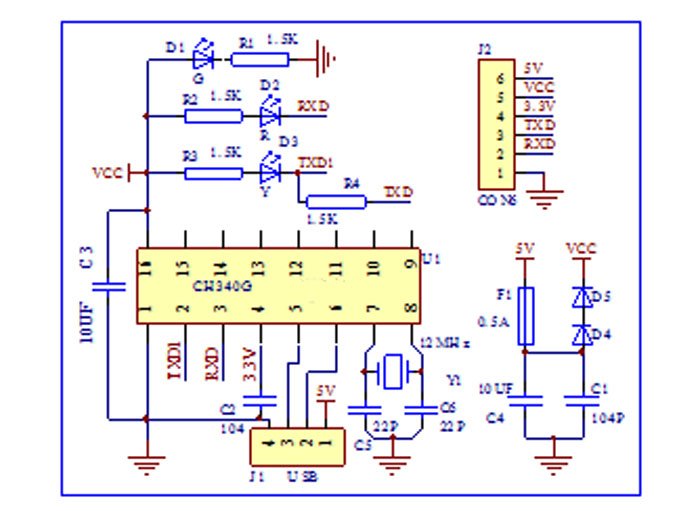
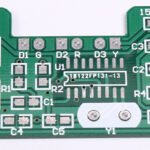
The schematic of the kit:
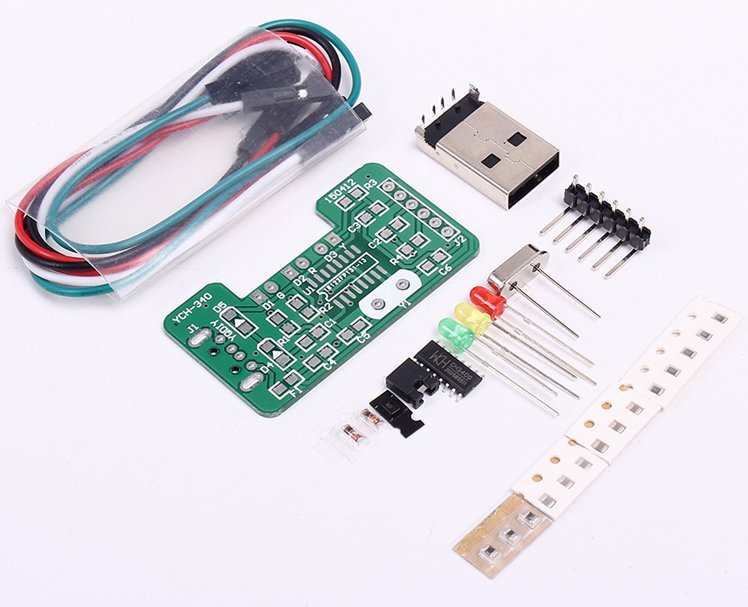
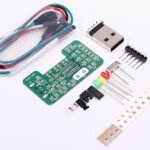
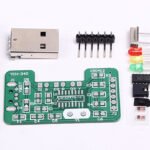
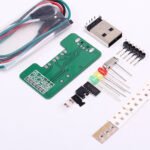
 The kit package includes these components:
- It has a CH340G chip
- It has a double-sided circuit board and heat shrink tube
- Onboard power lamp (green), TXD (yellow) and RDX (red) as indicator LEDs
- The short circuit jumper can select 3.3V or 5V; It has 0.5A USB interface protection.
- Come with 4 pieces of Dupont wire
- Support sWINDOWS 98/ME/2000/XP/Server 2003/VISTA/Server 2008/Win7/Win8 32 bits/64 bits
- Download CH340G driver
- Solder 1 chip (with direction)
- Solder 2 diodes (with direction)
- Solder 4 resistors, size 152
- Solder 2 capacitors, size 22P
- Solder 2 capacitors, size 104P
- Solder 2 capacitor specifications 106P
- Solder 3 LEDs (with direction)
- Solder 1 self-recovery insurance
- Solder 1 crystal
- Install the jumper cap
- Shorten TXD and RXD with any DuPont line.
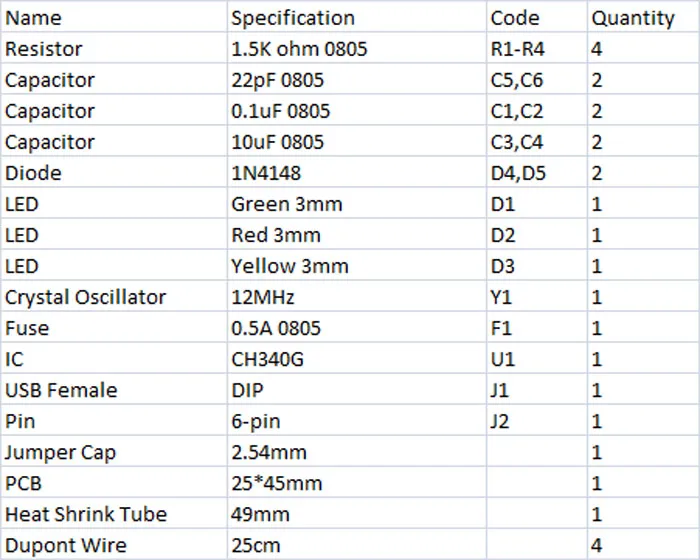
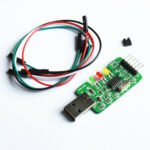
Packing List:
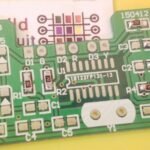
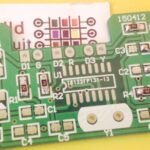
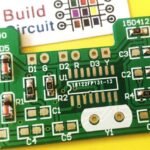
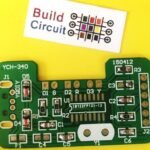
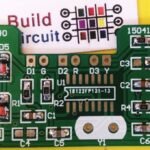
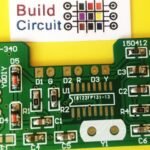
You can see all the soldering process on the images below:


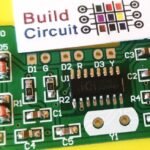


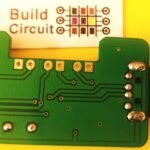


Other high quality images of the kit:


🛠️ Dive into our collection of DIY Kits, 🔊 Audio Amplifiers, Digital Scoreboards, FM transmitters, and more!
🎶 Explore endless possibilities at our new store.

