DIY KIT 53- Frequency counter DIY electronic kit
The description has been copied from manufacturer’s website.
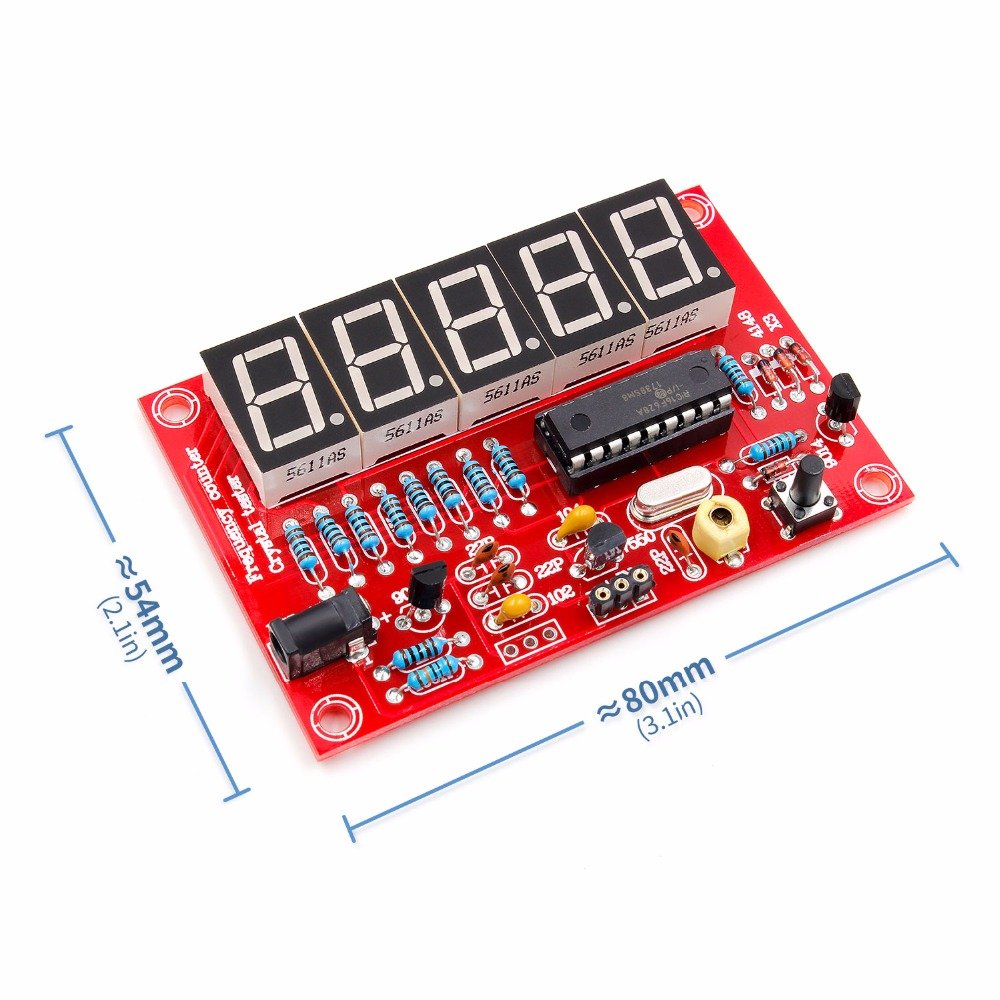
This is a PIC microcontroller-based frequency meter, subtraction frequency is set with crystal measurement functions and programmable, five digital display, easy and intuitive, all using in-line components, the circuit is simple and easy to make.
Measurable frequency range: 1 Hz -50 MHz;
Most commonly used to measure the oscillation frequency of the crystal;
Five Accuracy Resolution (eg 0.0050 kHz, 4.5765 MHz, 11.059 MHz);
Automatic range switching, without artificial switching.
Modified programmable frequency settings for the measurement of radio transceivers and other equipment;
Selectable power-saving mode within 15 seconds if there is no significant change in the frequency automatically turn off the display;
You can use a common USB interface as a power supply, can also use an external power supply or 9V battery.
 A small number of elements, all in-line components, installation is simple.
32.768KHZ crystal can not be measured, the condition is limited only tested 4-20MHZ crystal can be measured, 48MHZ also can be measured, but because this is the use of octave harmonic oscillator, so 48MHZ crystal displays measuring fundamental frequency 16MHZ. You can also IN and – direct input frequency signal (ground) between measurements.
Decimal point flashes to indicate whether the unit of measurement, when the test frequency value for KHZ decimal point flashes when the test frequency is MHZ decimal point is not blinking.
Subtract a certain frequency can be set through the programming mode, the program built-in four frequency 455kHz, 4.1943MHz, 4.4336MHz, 10.700MHz can be directly used to set. Please use the specific programming model to obtain the product manual, there are detailed instructions.
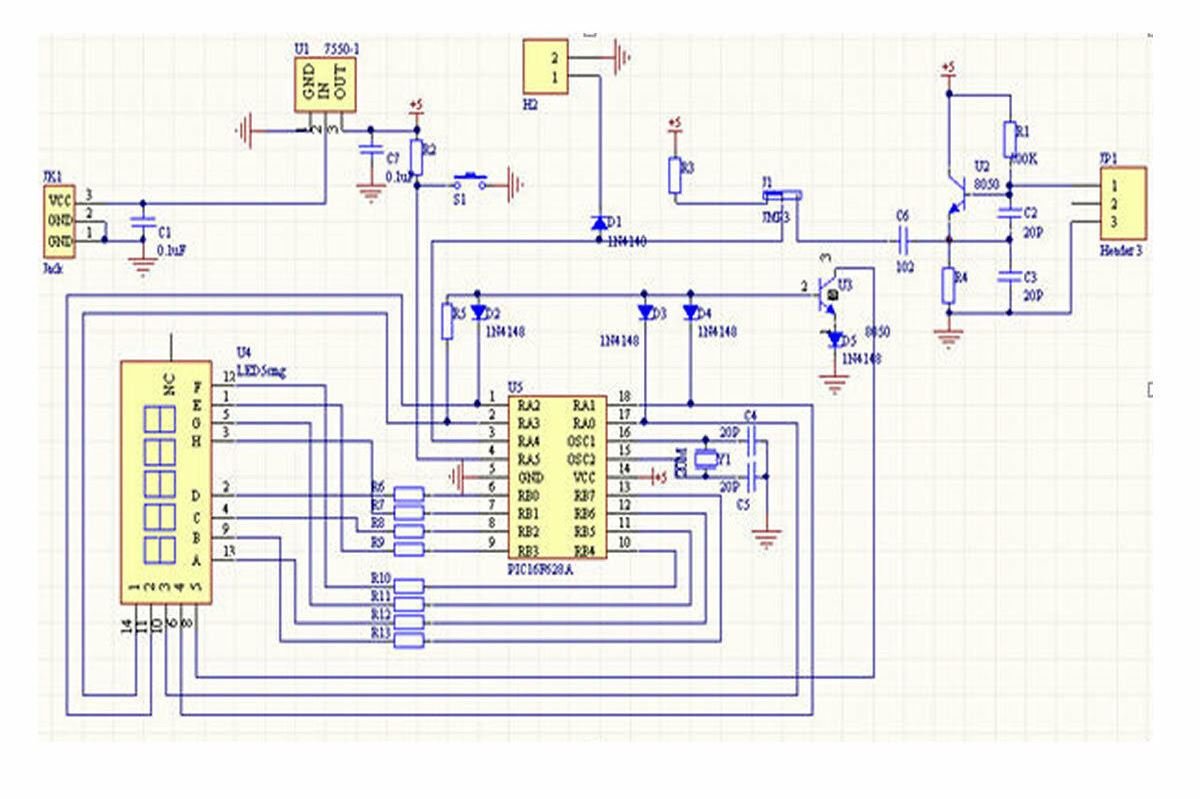
Full-line component, according to PCB soldering correct sign, signal source with standard input signal after welding is completed, adjust the display yellow adjustable capacitor is equal to the value of the signal frequency. Our signal generator can be used to adjust, without the standard signal, or you can use a good crystal direct calibration accuracy.
Power can use USB to 3.5 mm power cord (Figure), you can also – direct input 5-9V DC power supply and + pads place.
Check out the images below for assembling the kit. You can see the images on Flickr also.
Other good images of frequency counter
Check out the assembly tutorial from youtube:


