


DIY KIT 64- ClockIt digital clock DIY kit using Arduino
[adrotate banner=”2″]
This is a great kit to learn the basics of soldering. The Sparkfun ClockIt is a basic alarm clock with buzzer based on the ever-popular ATMega328. If you’re just learning how to solder, this kit should take you 15-20 minutes. If you’re a weathered pro at soldering, this is a great relaxing build that should take 5-10 minutes.
We’ve made some changes to this kit so it’s easier for beginners to solder: The ATMega footprint is wider so you don’t need to bend any pins and we’ve also added some more silkscreen print to better indicate the polarity of the parts.

No programmer required. The ATmega comes with firmware installed!
The kit has been released under creative commons license. Therefore, I took advantage of it and slightly modified the kit. I have changed the size of the resistor, it is now 1/4 W and I have used a different switch for the alarm. Customers who buy the kit will also get 28 pin IC socket.
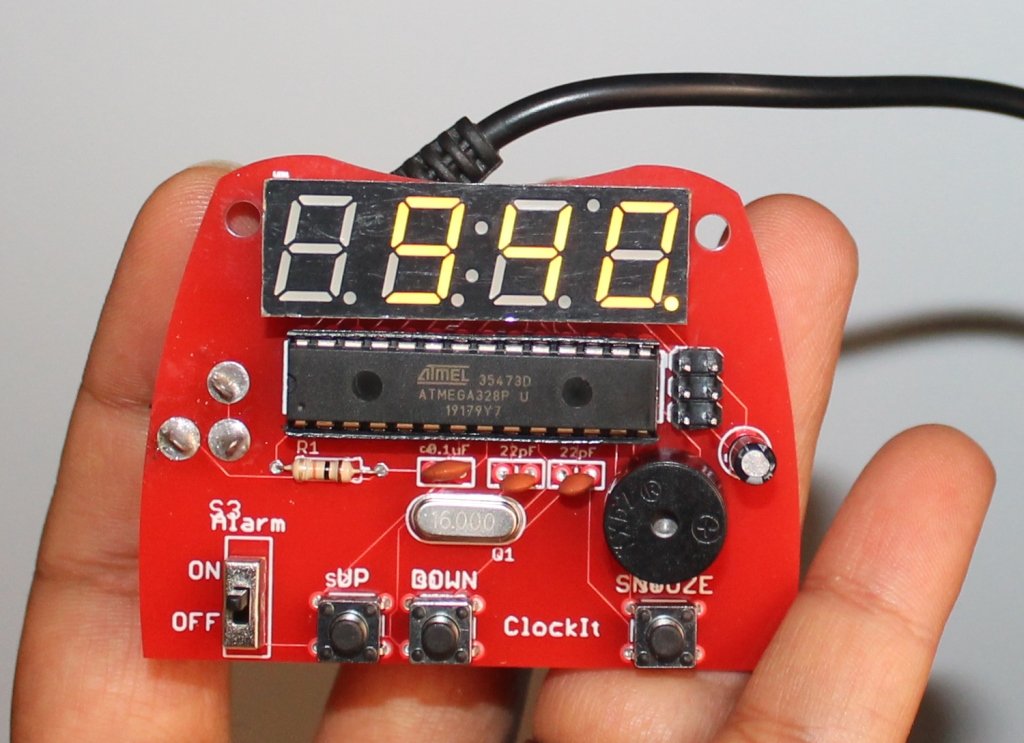
This is my kit: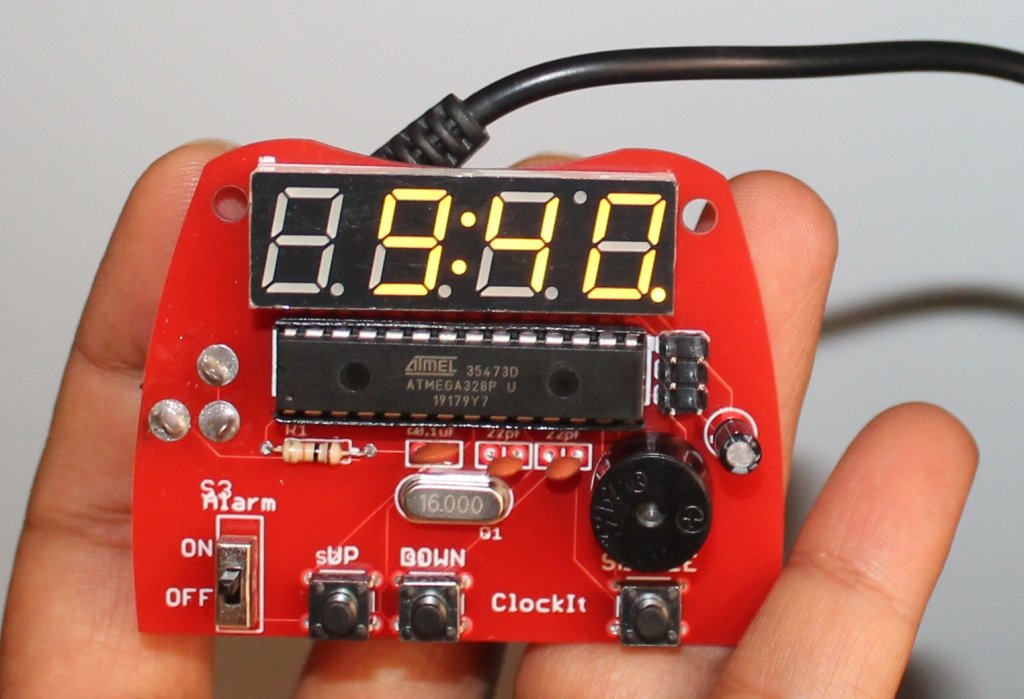
Features:
- Time (AM/PM)
- Alarm (On/Off)
- Snooze (alarm resumes after a 9 minute snooze)
- How to set time ?
- To set the time, press UP and DOWN together for 3 secs, you will notice that the display turns bright, then, press up and down to set the time. Note that only minutes display go up and down. Press SNOOZE when you are done. Note that the top dot indicates AM/PM.
How to set alarm ?
To set the alarm, press SNOOZE for 3 secs, it will display previously set(default) alarm time and the display will also flash. When flash appears, the kit enters into the alarm set mode. Then, press UP and DOWN to set the alarm time. Note that only ‘minutes’ display will go up and down. Press SNOOZE when you are done. Note that the top dot indicates AM/PM.
How to check the set alarm time ?
You can check the alarm time by pressing the SNOOZE button once.
Is the time accurate ?
I have been using this kit for more than 1 month and the time is very accurate.
Components included in the kit package:
- 1 x ClockIt PCB
- 1 x ATmega328 (pre-programmed)
- 1 x 4-digit display
- 1 x Piezo Speaker
- 1 x 10uF cap
- 1 x 0.1uF cap
- 2 x 22pF caps
- 1 x 10k resistor
- 1 x 16MHz crystal
- 1 x barrel jack
- 1 x mini power switch
- 3 x push-button reset switches
Check out all the images of the kit below. You can see the images on Flickr also.


🛠️ Dive into our collection of DIY Kits, 🔊 Audio Amplifiers, Digital Scoreboards, FM transmitters, and more!
🎶 Explore endless possibilities at our new store.

