DIY KIT 68- A digital dice using 74LS47, 74LS90 and seven segment display
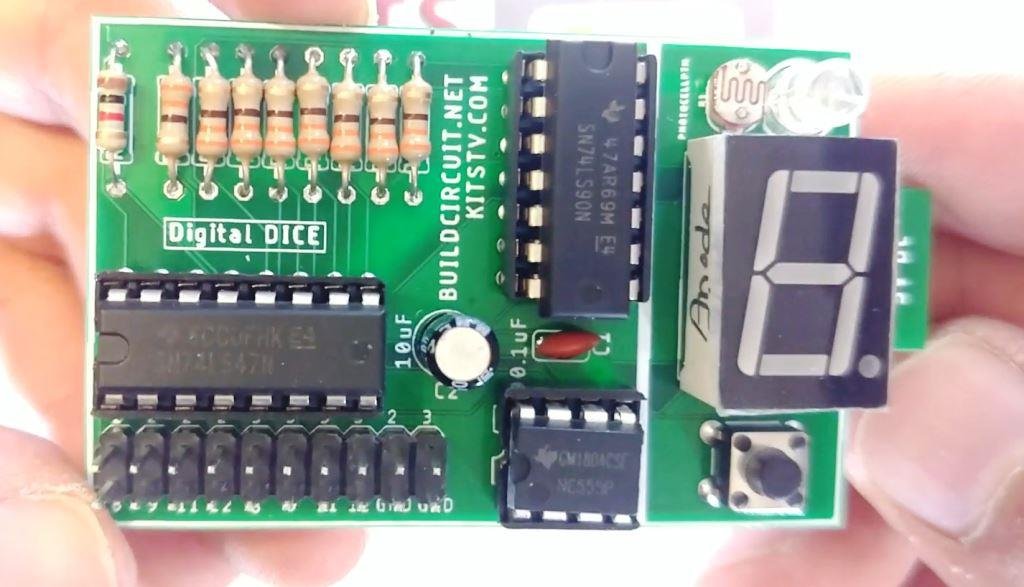
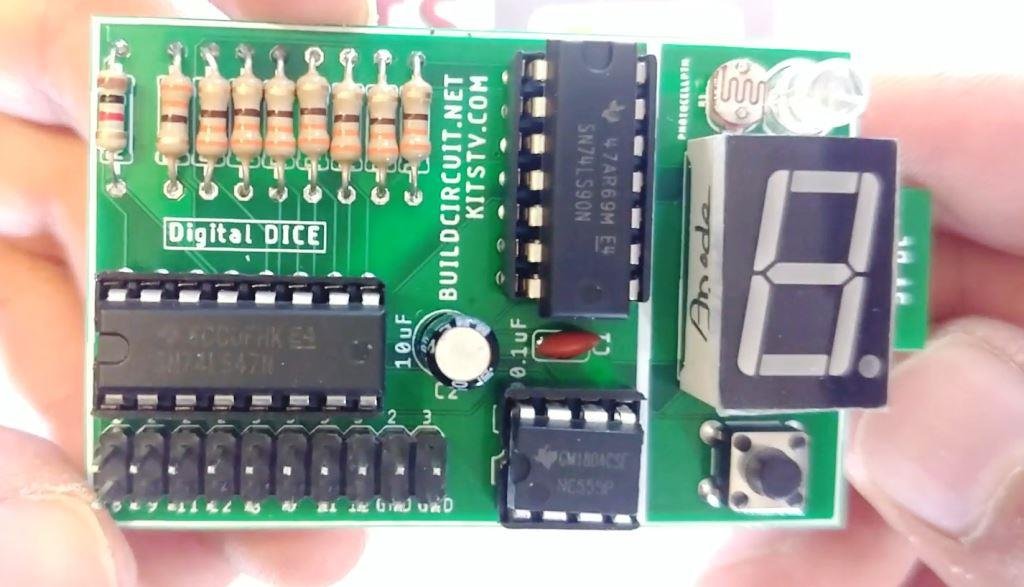
This is a different type of digital dice. We have previously seen electronic dice with 7 LEDs. In this project, we have a seven-segment display, not LEDs.
When you press the tactile switch the numbers increase from 0 to 9, and when the switch is released it stops at a random number. Using the 2 jumpers, you can display the numbers from 0 to any number, for example, from 0 to 1 or 0 to 5 or 0 to 8 or 0 to 9.
The increase of numbers is controlled by the NE555 configured in astable mode. The output frequency of NE555 is controlled by the photoresistor. When you block the light falling on the photoresistor, its resistance increases, and subsequently the frequency of NE555 decreases, and when the white LED white illuminates the photoresistor its resistance decreases which subsequently increases the frequency of NE555.
When the frequency goes up, the speed of display of numbers also increase. The kit can be powered with a micro USB cable. It can be a fun project for electronics beginners. Basic soldering skill is enough to build the kit and the silkscreen labels on the PCB should guide you through soldering.
The schematic of the kit is given below:
Documents:


