


Arduino controlling the WTV020SD-16P Evaluation kit

This article shows how you can test WTV020SD-16P module using Arduino and WTV020SD-16P evaluation DIY kit. If you have come to this page directly from a search engine, we recommend you to visit these pages to understand this project:
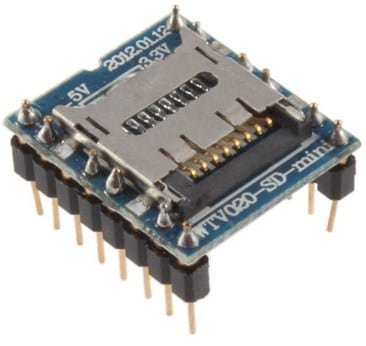
- About WTV020SD-16P evaluation kit
- Assembly tutorial
- Gallery- all the images of wtv020sd-16p evaluation kit
- Schematic of this kit
- How to use WTV020SD-16P module
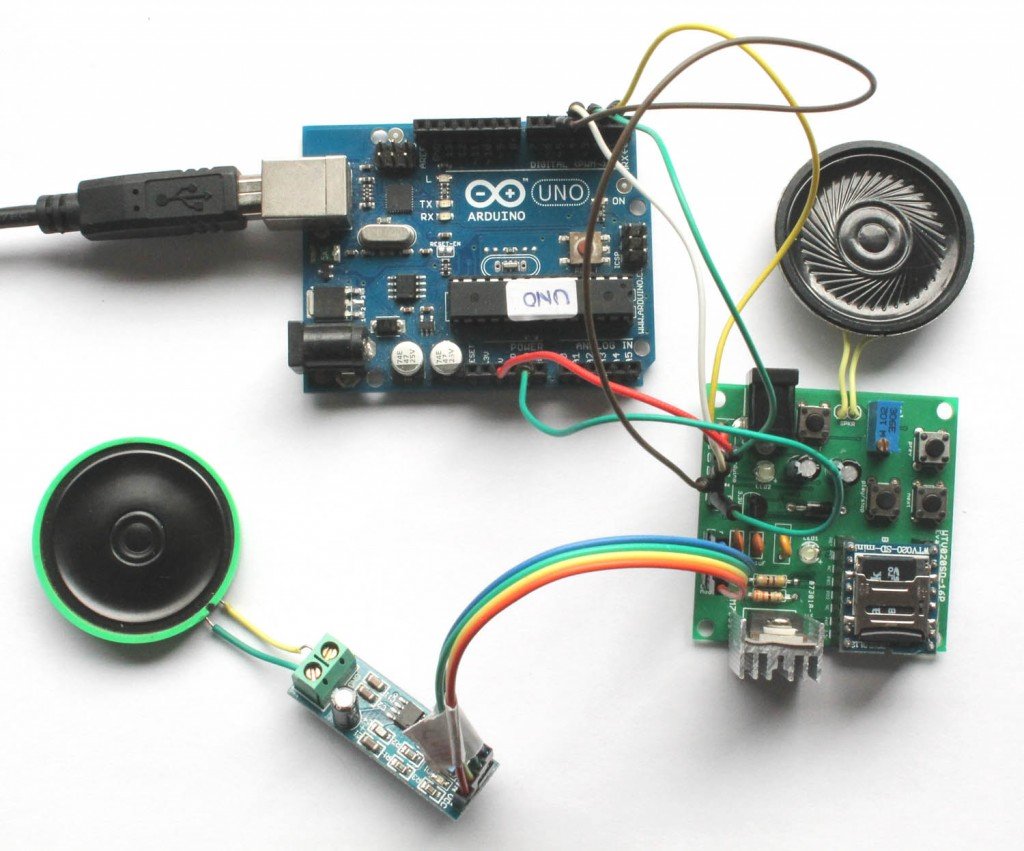
Connecting the WTV020SD-16P evaluation kit to Arduino:
You can see there is a 6 pin female header for connecting the kit to Arduino.
- 5V connects to 5V pin of Arduino
- RST connects to Digital Pin 2 of Arduino
- P04 connects to Digital Pin 3 of Arduino
- P05 connects to Digital Pin 4 of Arduino
- P06 connects to Digital Pin 5 of Arduino
- GND connects to GND pin of Arduino
After connecting the kit to Arduino, load some AD4 format files on to your MicroSD card. You can Download the AD4 audio sample files. And, then stack the WTV020SD-16P module over the stackable header of the kit. Please note that the LM386 Audio amplifier module and the connected speaker are optional. The speaker connected directly to the kit is sufficient to hear the audio. But, the Audio amplifier module amplifies the sound and you can hear it more clearly.
Upload the following sketch to Arduino:
The output of the project:
When you upload the sketch to your Arduino, the kit starts playing music one after another. After all the songs are played, it loops back to the first one. Download the AD4 audio sample files.
– See more at: http://www.buildcircuit.com/arduino-controlling-the-wtv020sd-16p-evaluation-kit/#sthash.V9gJ52Md.dpuf
Related documents:
🛠️ Dive into our collection of DIY Kits, 🔊 Audio Amplifiers, Digital Scoreboards, FM transmitters, and more!
🎶 Explore endless possibilities at our new store.

