How to assemble a line following robot – Page 1

The assembly of a line following robot is pretty straight forward. If you follow the silkscreen labels, you will be able to assemble it easily.
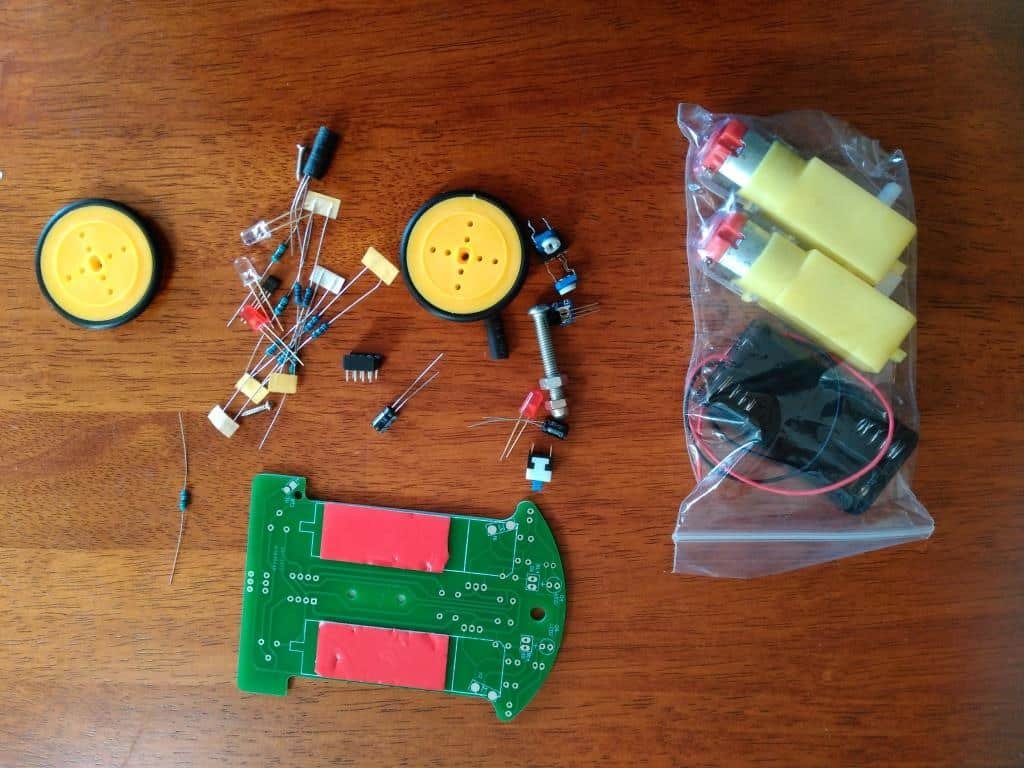
The line following robot comes with the components as shown on the image.
Start with resistors
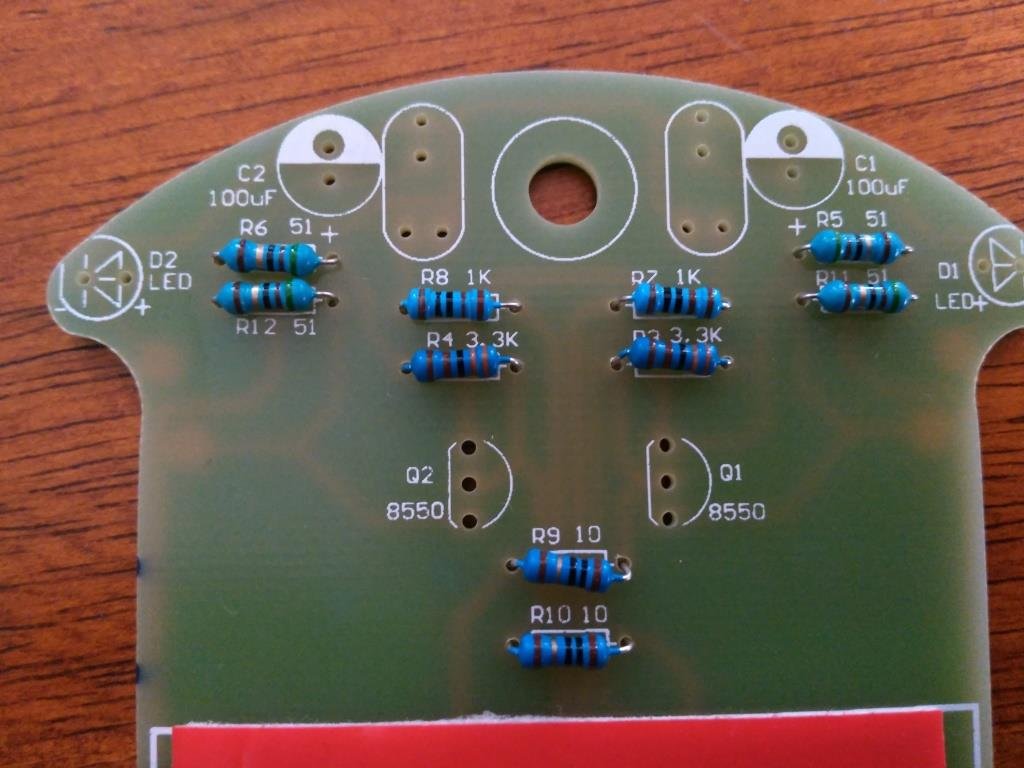
Solder all the resistors that comes with the package.
Solder the transistors S8550
Solder the 5mm red LED. Make sure that the Anode and Cathode go into the right holes.
Solder the 100uF capacitors.
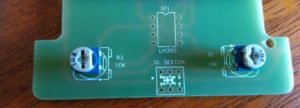
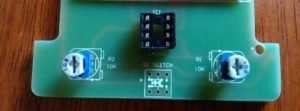
Solder the variable resistor 10K ohm
Solder 8 pin DIL socket
Solder wires on robot motors
Peel off the sticker and stick the motors
After sticking the motors, the robot should like this:
Make sure that the motors are soldered on the PCB solder pad.


