


How to assemble a line following robot – Page 2

Remaining part of assembly of line following robot…
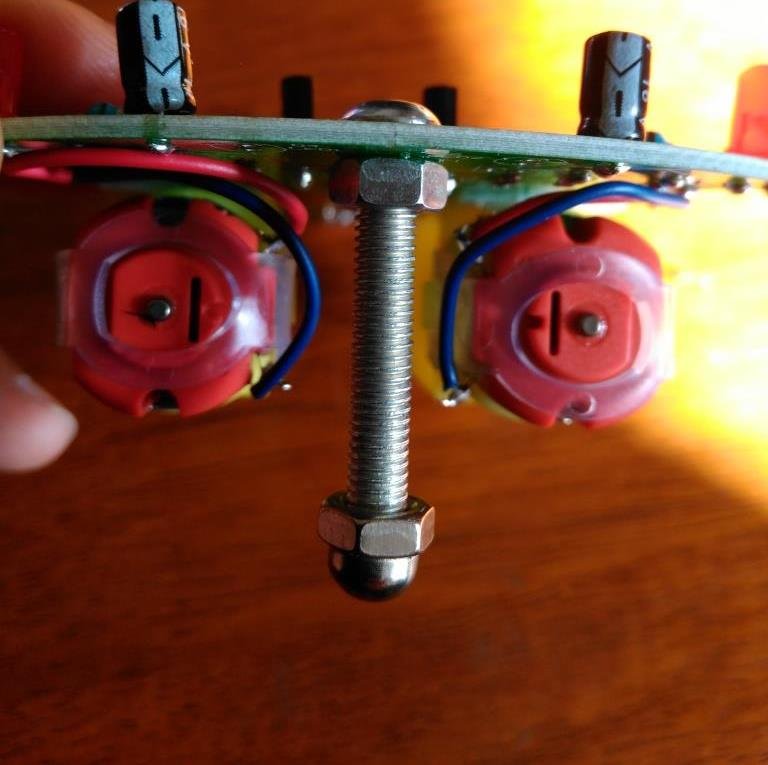
Fix the nut bolt set on the PCB

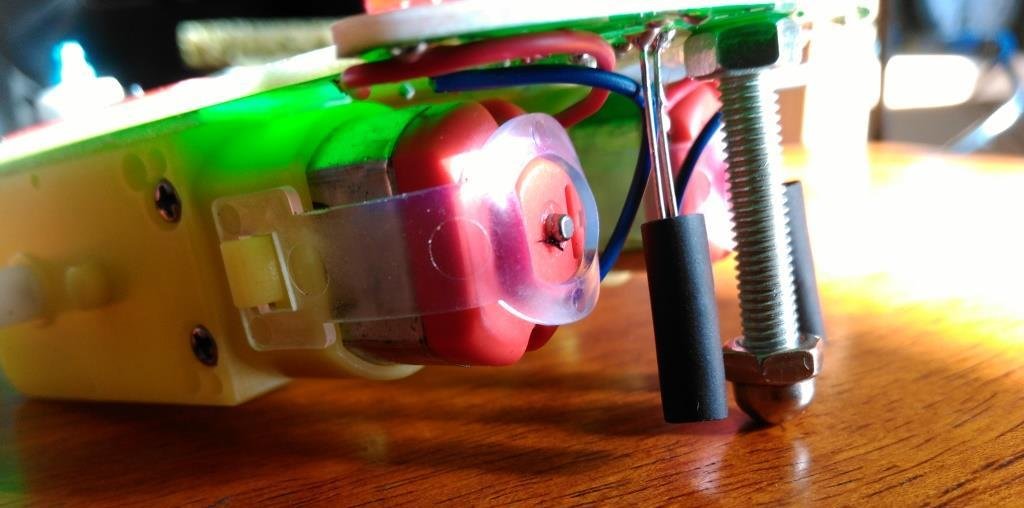
Solder the photo resistor/LDR as shown on the image.Make sure that the LDR is at least 5mm above the ground or spot where you are placing the robot.


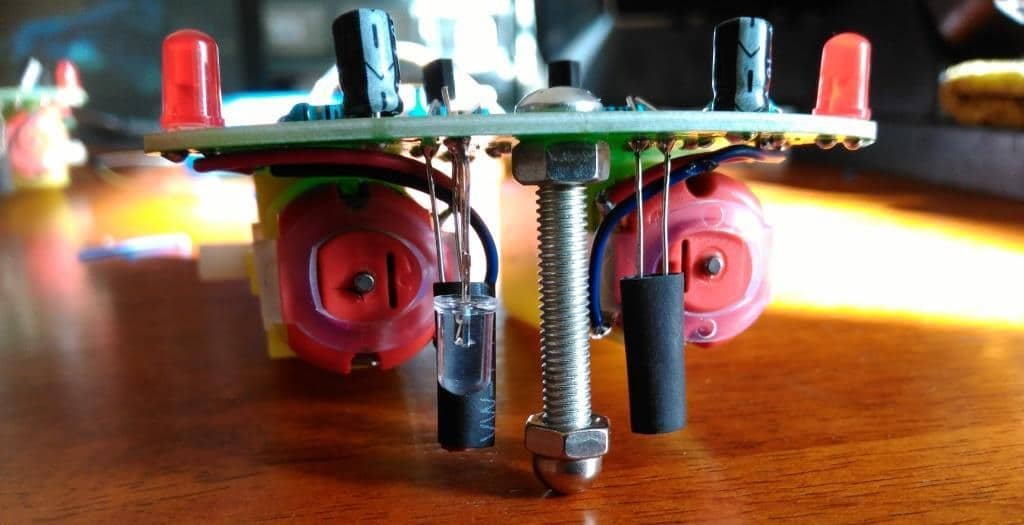
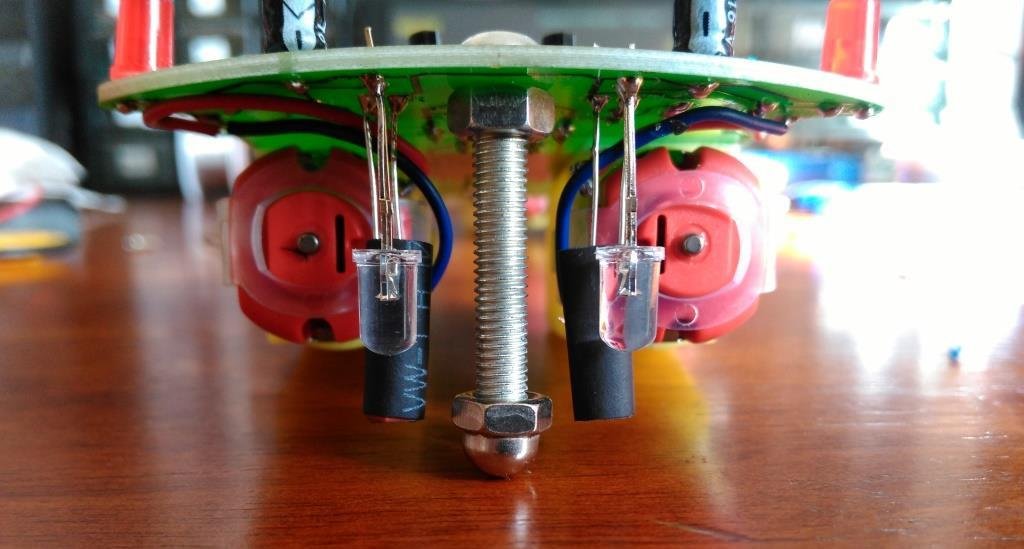
Solder the transparent 5mm LEDs. The LEDs should be 5mm above the LDR.
Peel of the top sticker to stick the included battery holder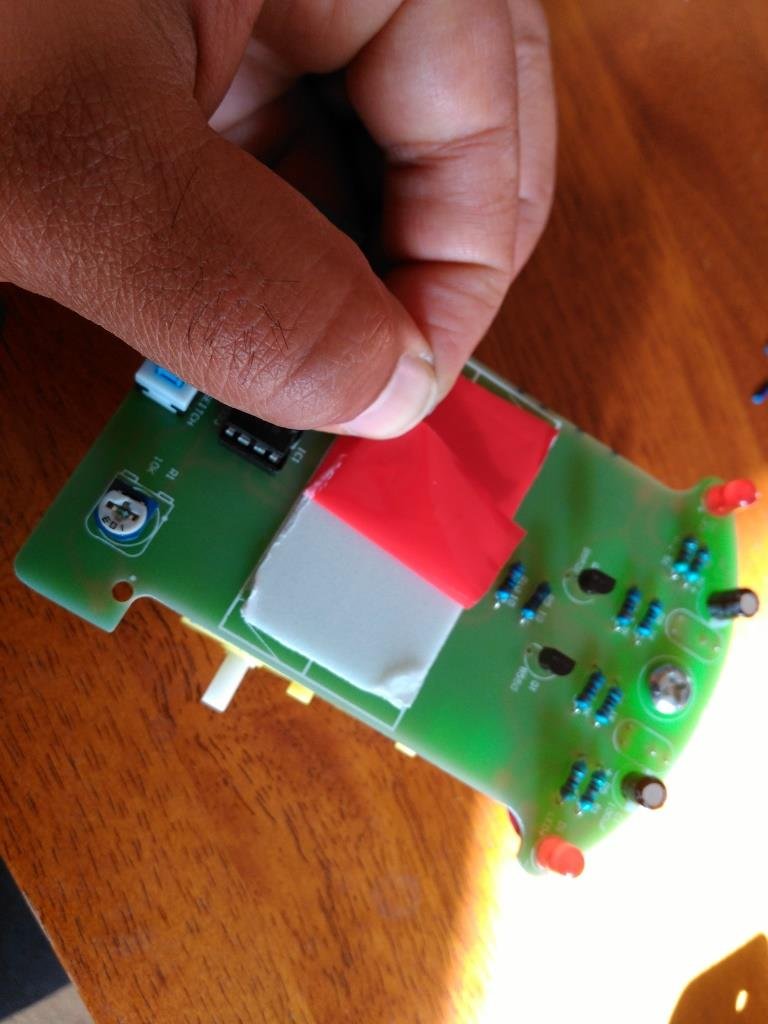

Pass the wires through the hole


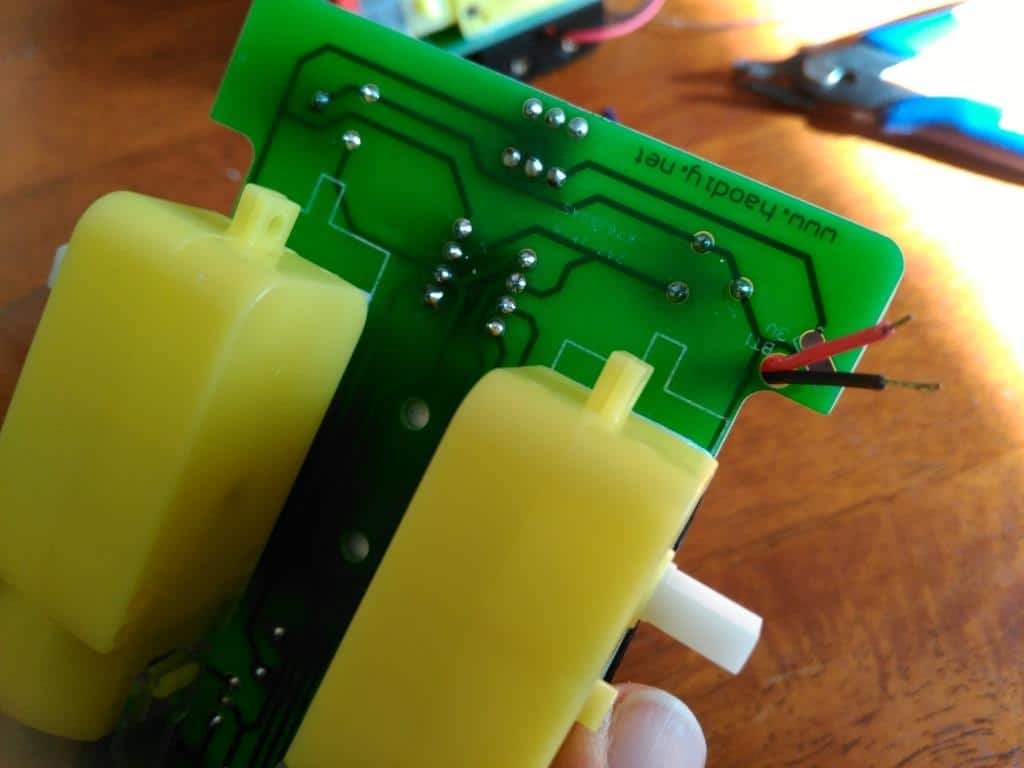
And solder it as shown below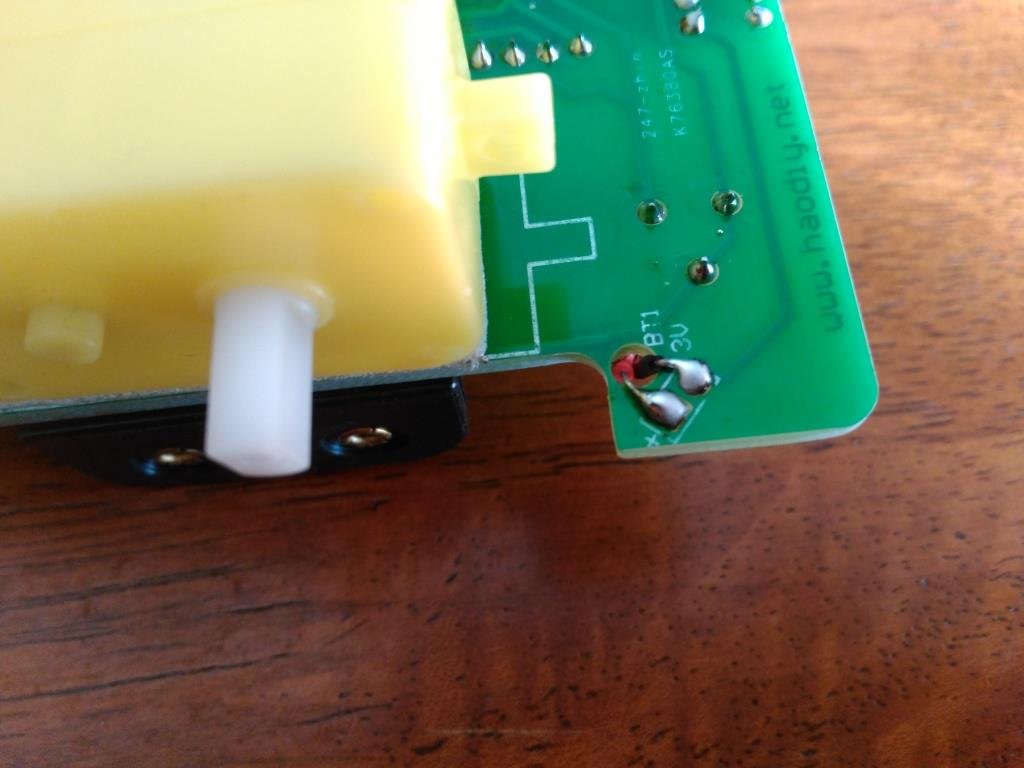
The package includes two wheels also.
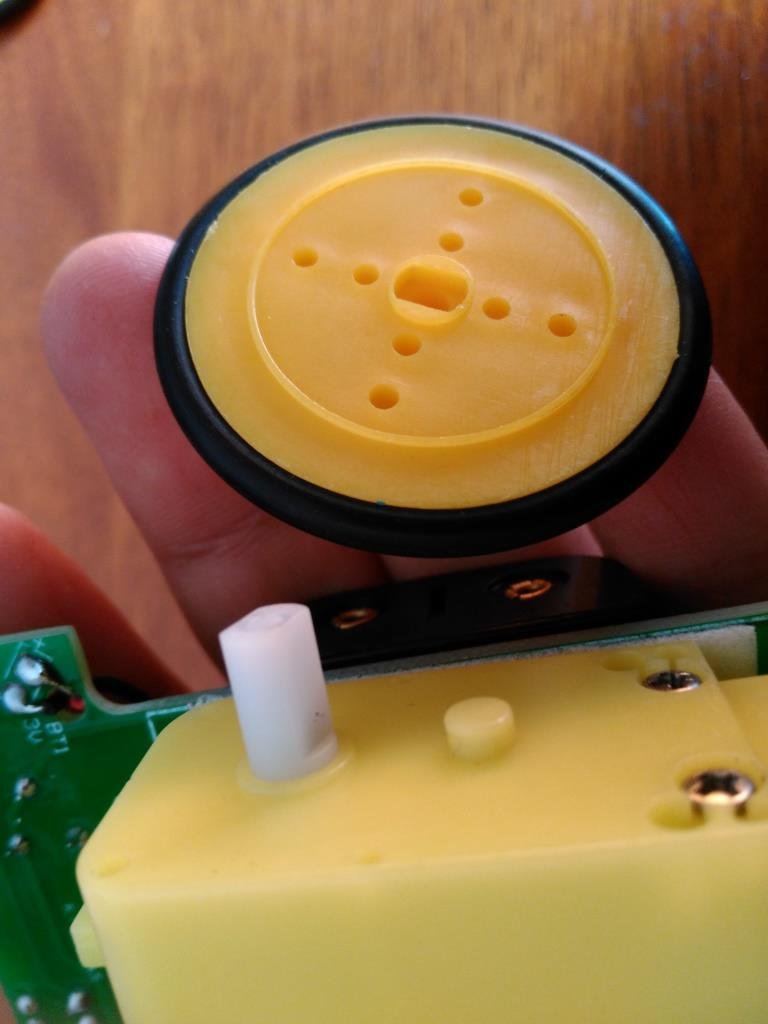
Fix the wheels to the motors
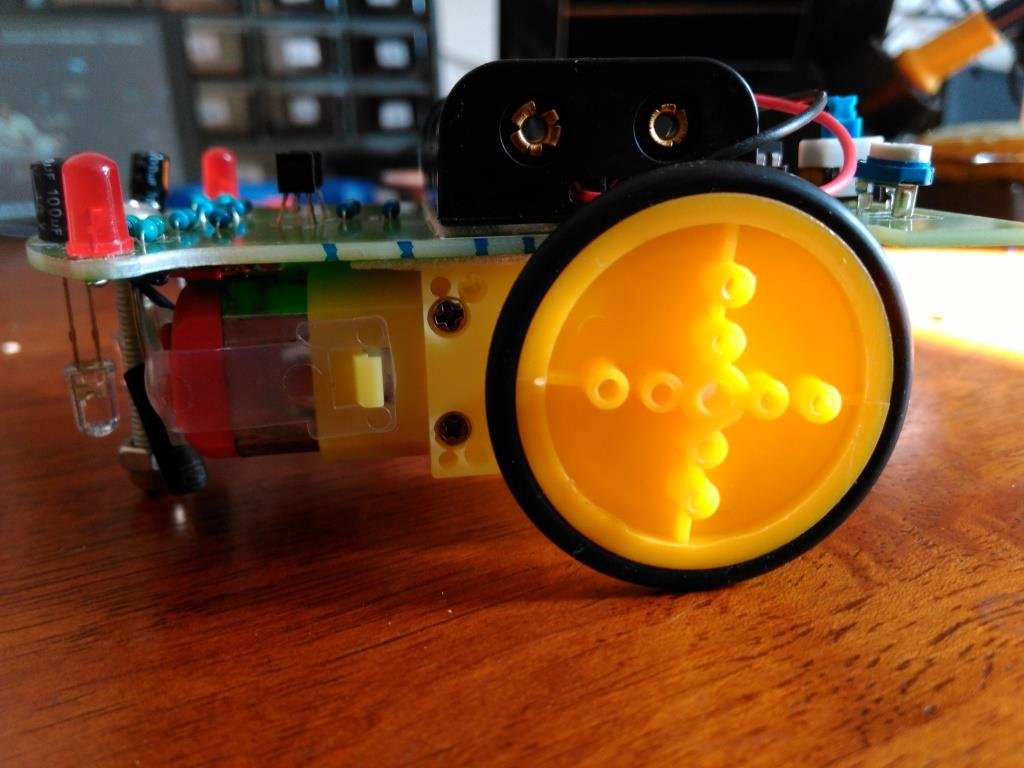
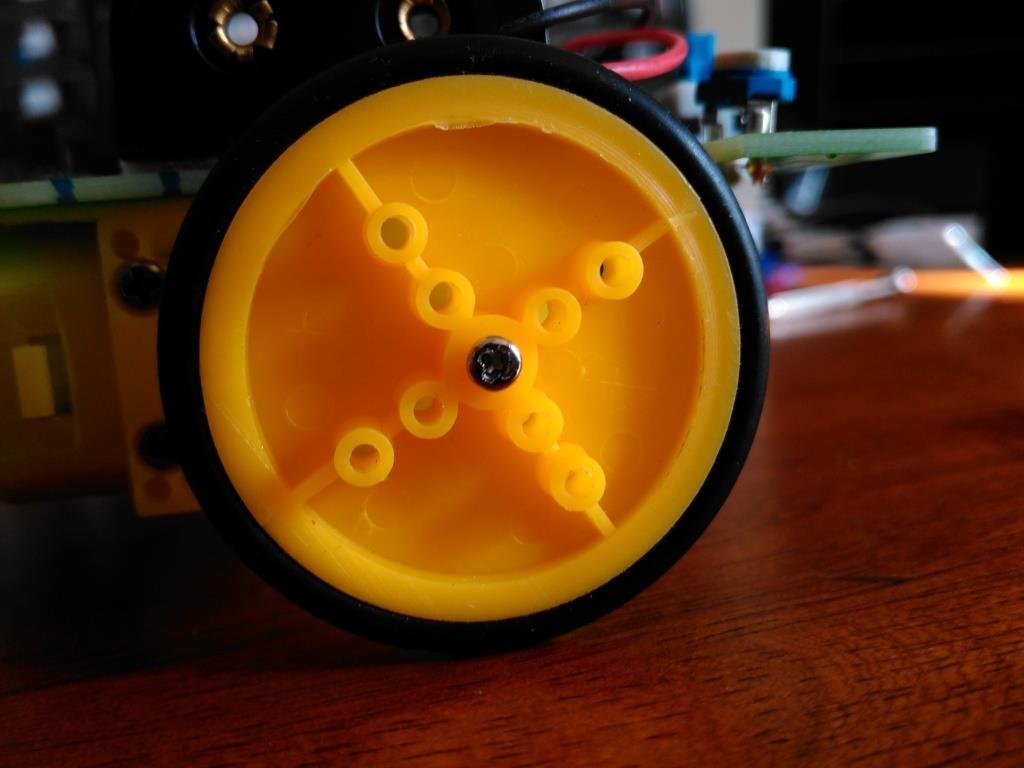
This is how you insert the holes of the wheel to the motor
Use the screws to tighten the wheel to the motor
The line following robot is now ready. Make sure that you use a different switch as shown below


Make a track with a black insulating tape. You may use paint or permanent marker. I have one with a black insulating tape. Watch the following video:

🛠️ Dive into our collection of DIY Kits, 🔊 Audio Amplifiers, Digital Scoreboards, FM transmitters, and more!
🎶 Explore endless possibilities at our new store.

