


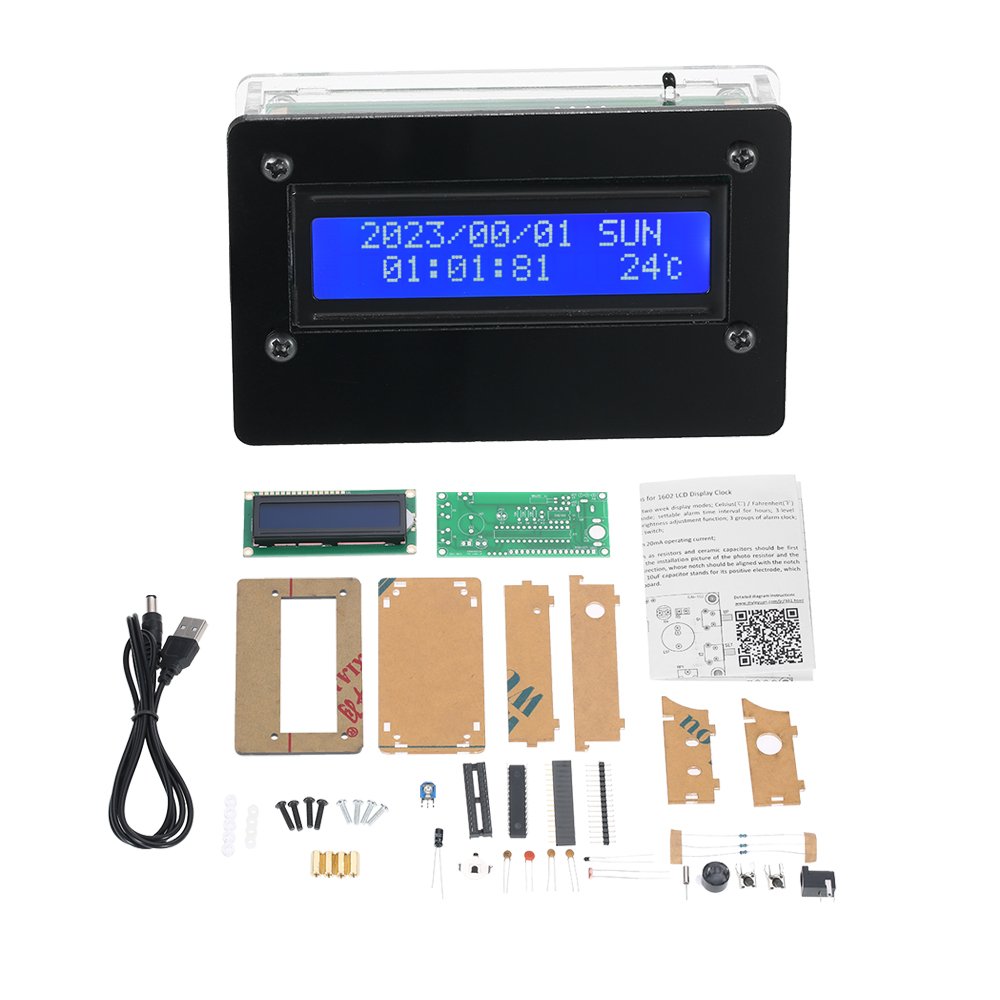
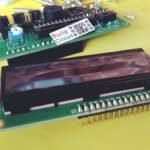
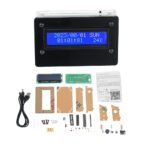
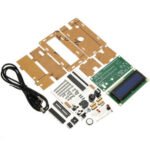
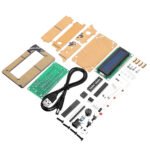
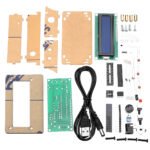
DIY KIT 30- Digital Clock Kit with 16×2 LCD
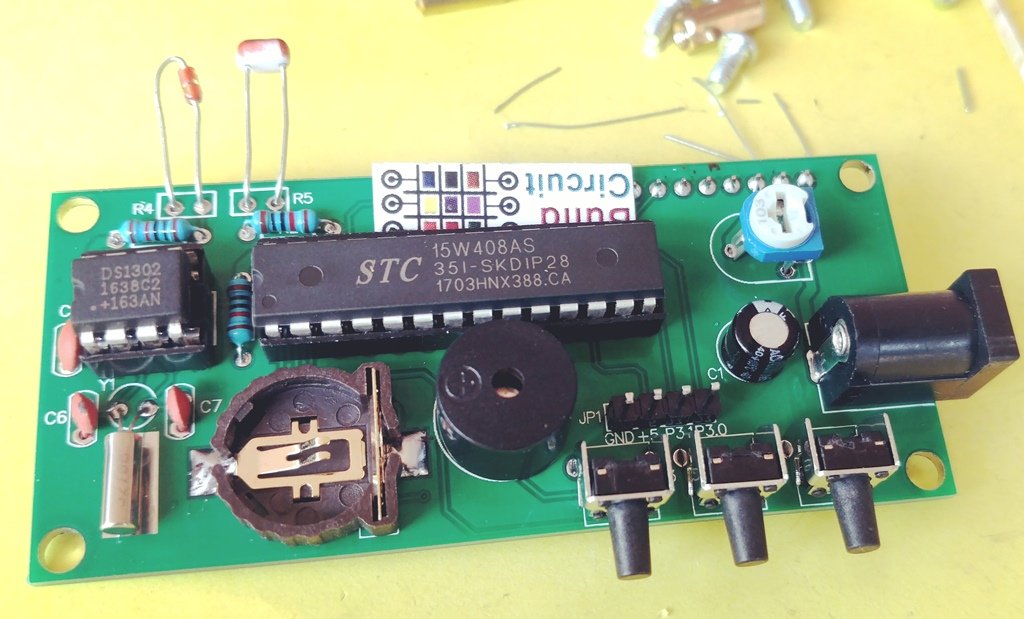
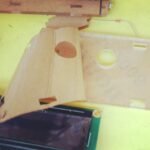
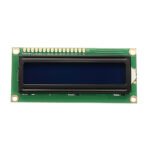
This is a basic electronic clock built with STC15w408AS, clock chip DS1302, and 16×2 LCD. The best thing about this kit is its enclosure. With all the features of a commercial clock, the kit gives a professional look after assembly. The article shows you all the steps to build the electronic part of the kit assembly process. For the enclosure, we will publish another article in the future.
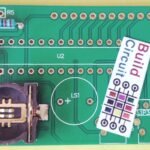
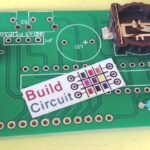
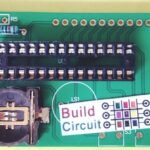
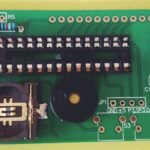
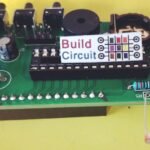
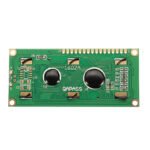
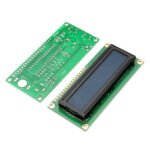
This is the PCB of the kit. The silkscreen labels can direct you to solder the components easily.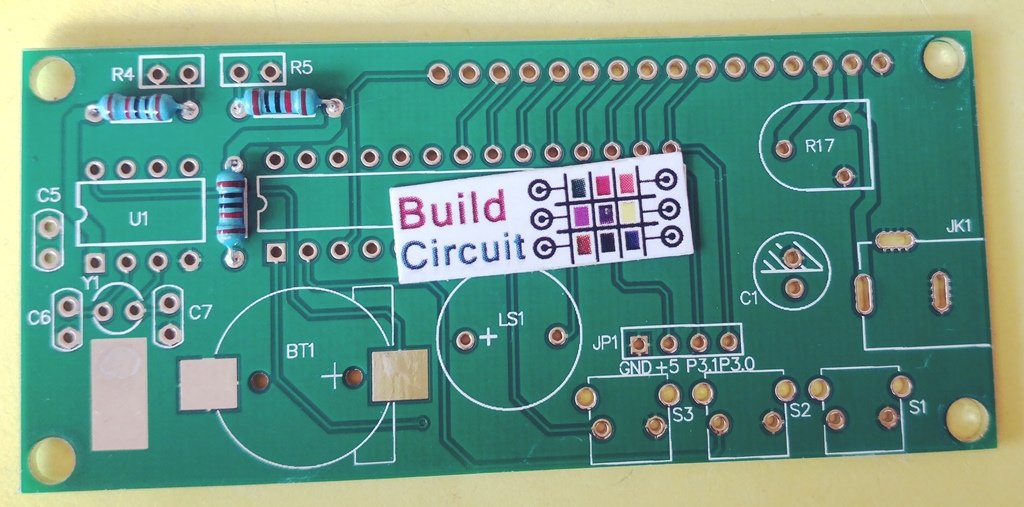
Click on the images below to see all the assembly steps. You can see all the images on Flickr also.


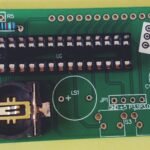
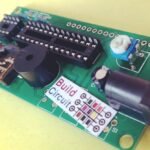

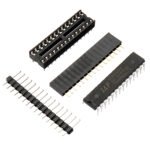
After completing the soldering of the kit, you will see two ICs on the circuit board, one is microcontroller STC15w408AS and the other is clock chip DS1302. You should pay attention to the direction of the ICs, inserting the ICs in the wrong direction will immediately damage the chips. To keep the time setting alive you should insert a small battery in the battery holder. It will give power to the DS1302 chip.
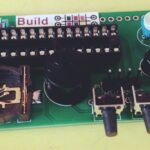
Plug in 5V power supply to the kit and if there is no display on the LCD, adjust the contrast potentiometer.
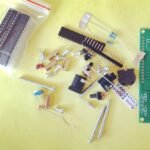
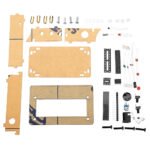
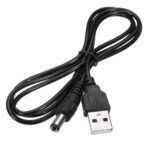
This is what you get with the kit package:


🛠️ Dive into our collection of DIY Kits, 🔊 Audio Amplifiers, Digital Scoreboards, FM transmitters, and more!
🎶 Explore endless possibilities at our new store.

