Make a seven segment display using 5mm LEDs
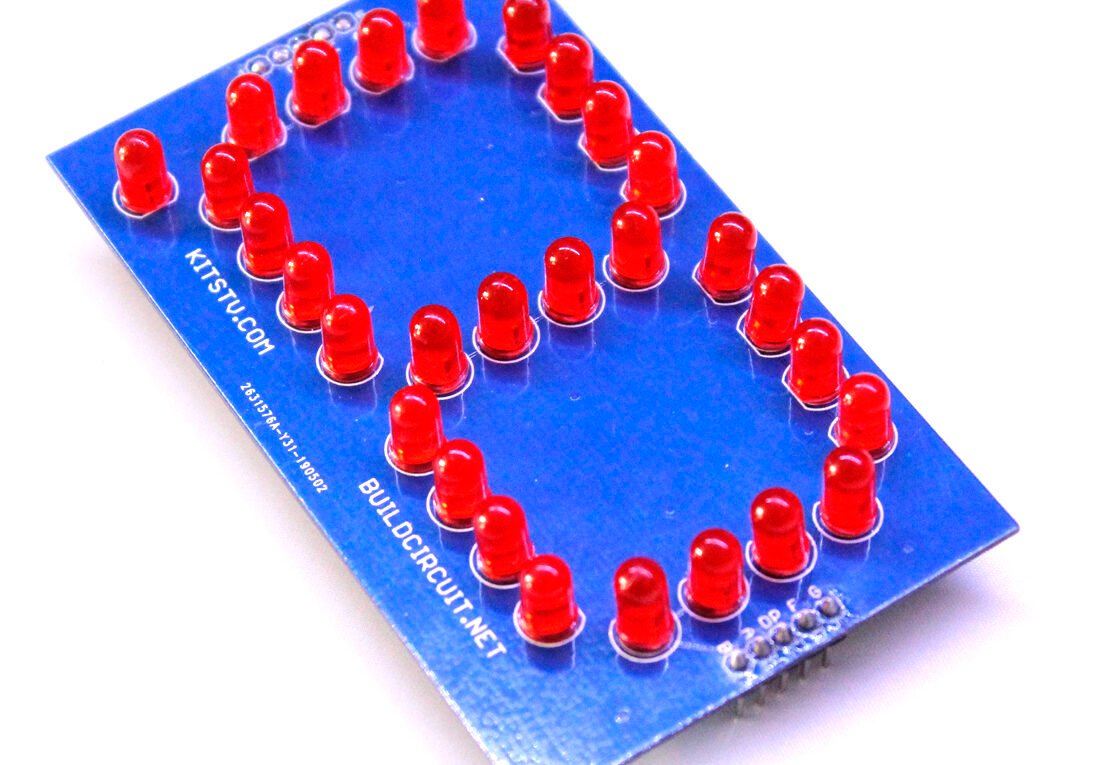
In this post, I am going to explain how I built a basic 3″ seven segment display made using 5mm LEDs. This project was made during the research and development phase of Scoreduino project.
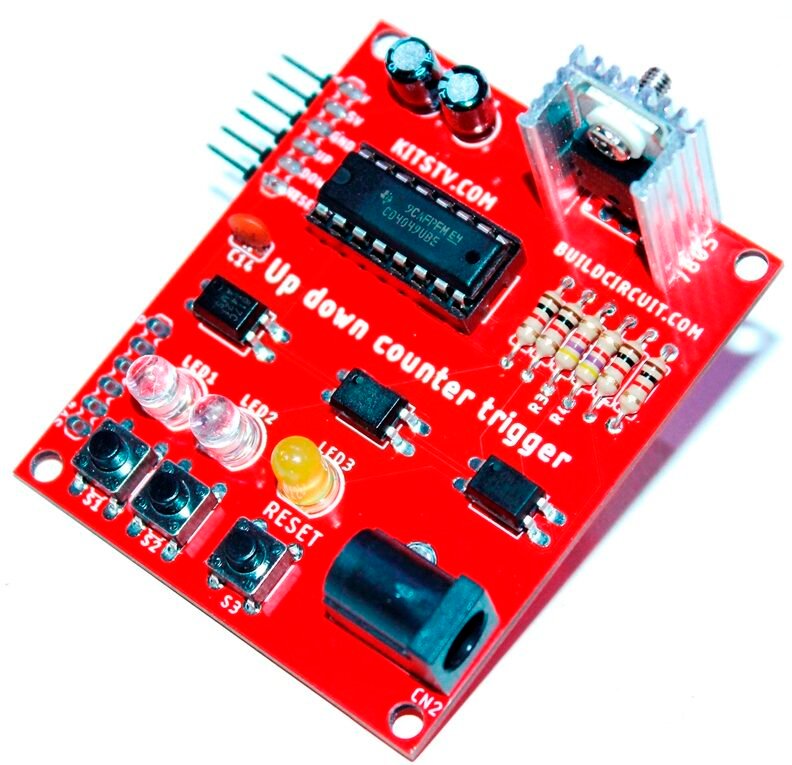
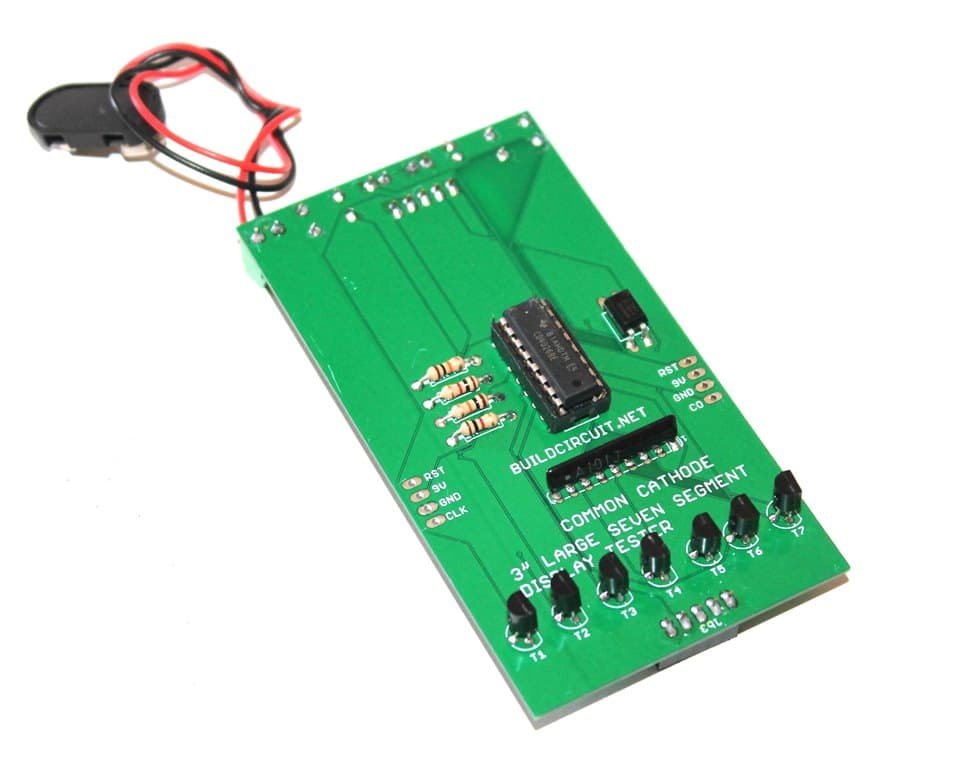
This is a COMMON CATHODE seven-segment display made with 29 pieces of 5mm LEDs. There is also a driver for this display. This can be a good experiment for students who want to learn how a seven-segment display and its driver work. The display driver is made using CD4026 which has been used several times in our previous up counter modules.
The driver is basically an up counter. After you insert the display into the headers of the driver and power it up, just press the COUNT switch to increase the count.
It works like any other seven-segment displays. I have designed a CD4026b based driver also. The seven-segment display fits into the headers of the driver and you can immediately test it. The driver is an up counter. Simply power up the display and test it.
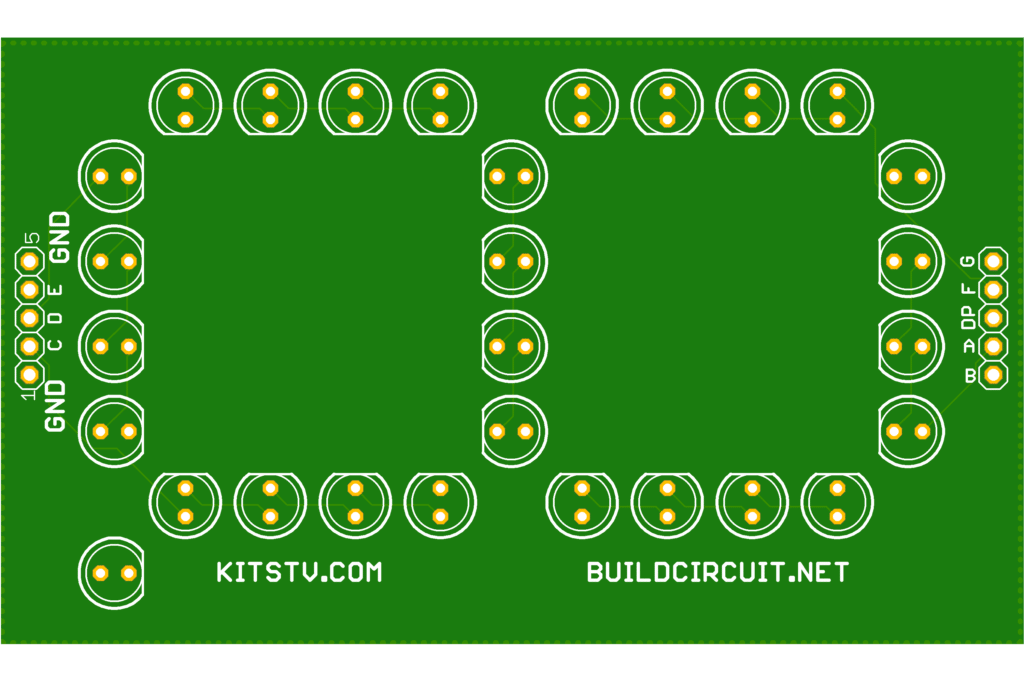
Schematic of common cathode seven segments display:

Schematic of the common cathode seven-segment display driver
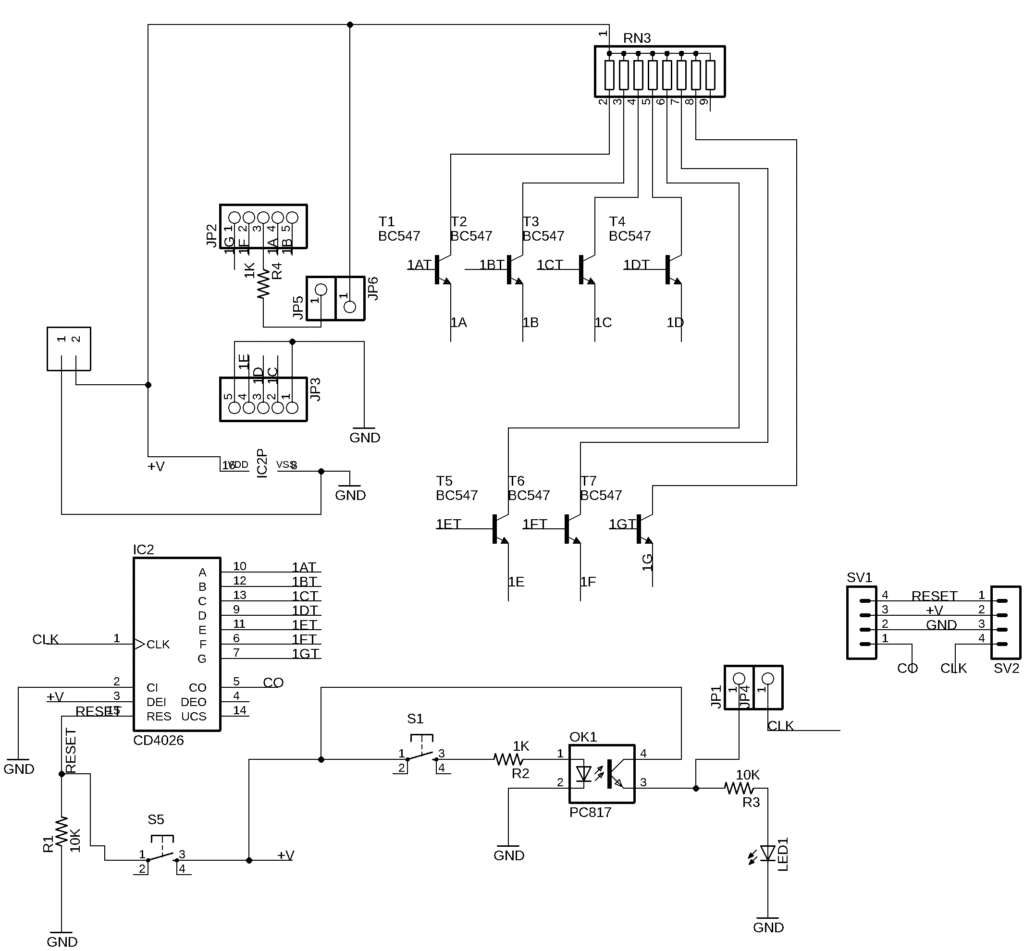


The driver and seven-segment displays are theoretically similar to our CD4026 based up counter or common cathode driver.


Components required to build this seven-segment display
- 29 x LEDs.
- 2 x 5 pin header
- PCB
- 2 x 5 pins male headers
Components required to build the driver for the seven segments display:
- 1 x PCB
- 2 x 5 pins female headers
- 2 x 2 pins headers
- 2 x tactile switches
- 1 x 3mm LED
- 1 x Screw terminal
- 1 x 16 pin IC socket
- 1 x CD4026 up counter chip
- 3 x 10K resistors
- 1 x 1K resistors
- 1 x PC817 optocoupler
- 1 x 101J resistor network array
- 7 x BC547 NPN transistors
- 2 x 4 pins angle header (this is optional, you would need this if you want to concatenate other drivers)
You will need a 9V power supply to operate the driver.
🛠️ Dive into our collection of DIY Kits, 🔊 Audio Amplifiers, Digital Scoreboards, FM transmitters, and more!
🎶 Explore endless possibilities at our new store.